This article is part of a series where we will learn how to install Elasticsearch using different infrastructures.
This time, we are going to work with the Kubernetes Service (EKS) using Auto Mode. In the other articles, you’ll learn how to use AWS EC2 and AWS Marketplace.
For Elasticsearch, we are going to use Elastic Cloud on Kubernetes (ECK), which is the official Elasticsearch Kubernetes operator that simplifies the Kubernetes deployments of all the Elastic Stack components.
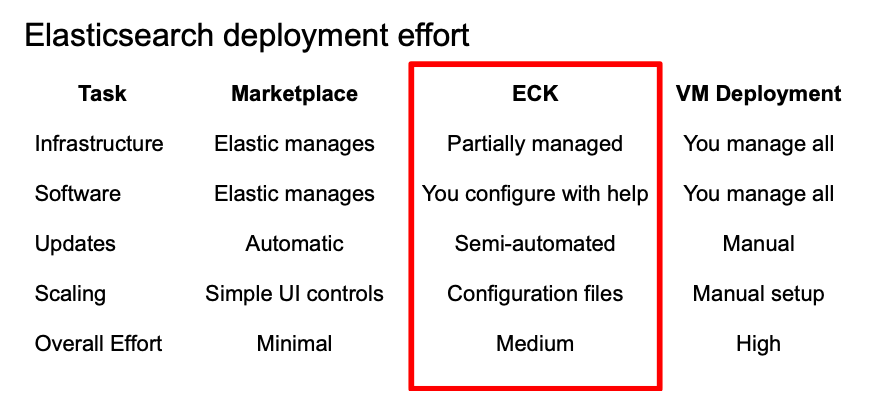
ECK requires significantly more effort than the Marketplace-based Elastic Cloud solutions, but it's more automated than deploying VMs by yourself, because the Kubernetes operator will take care of the system orchestration and node scaling.
What is EKS Auto Mode?
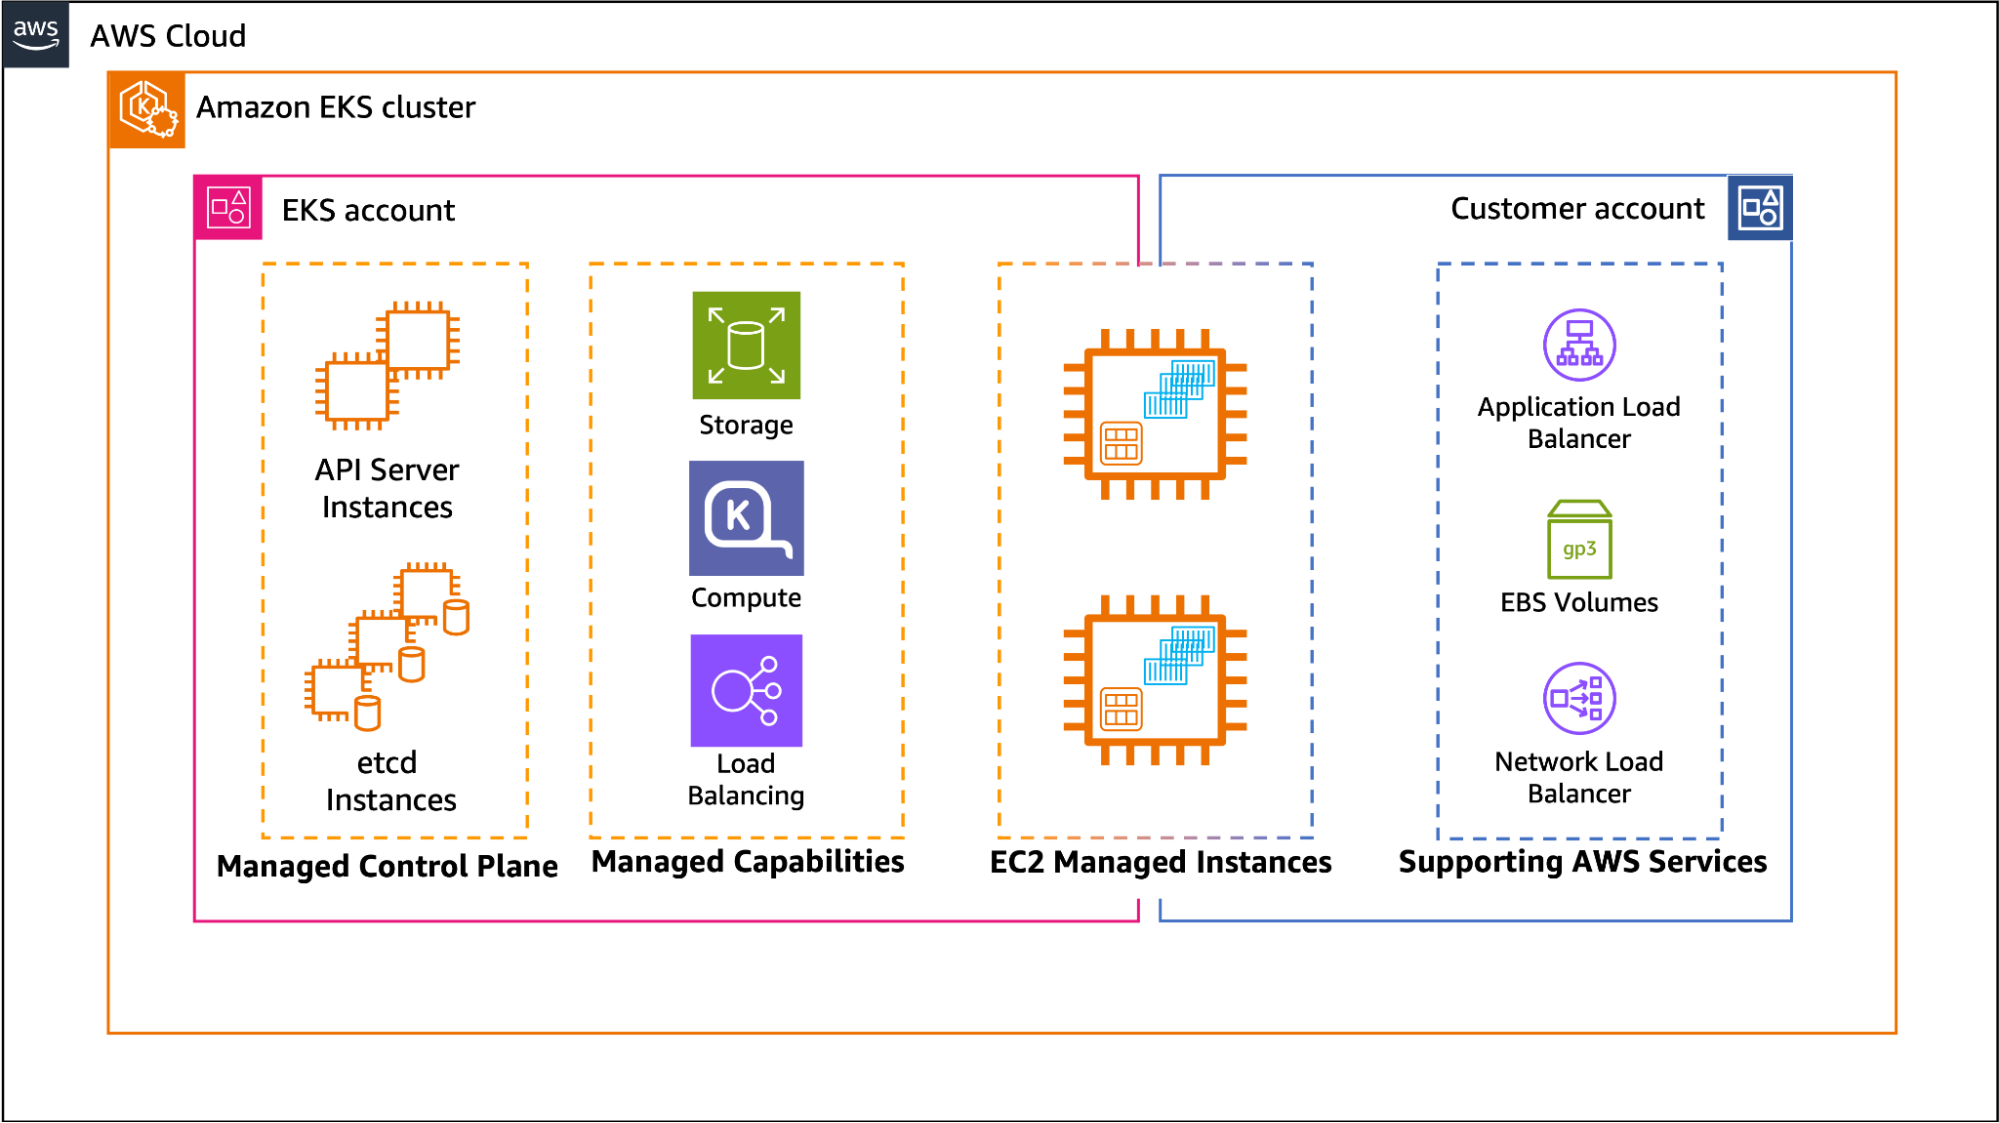
EKS Auto Mode is a deployment model provided by AWS, which simplifies the configuration of the data plane; things like storage, networking, and compute are now managed by EKS. With a one-click installation, Auto Mode will automatically select the optimal resources and scale them for you when needed. You can explore other AWS flavors in our AWS EC2 and AWS Marketplace articles.
How to set up the ECK operator
Now, we are going to install eksctl, which is the official CLI to manage AWS EKS from the terminal, and then install and run the ECK operator on the deployed EKS Kubernetes cluster.
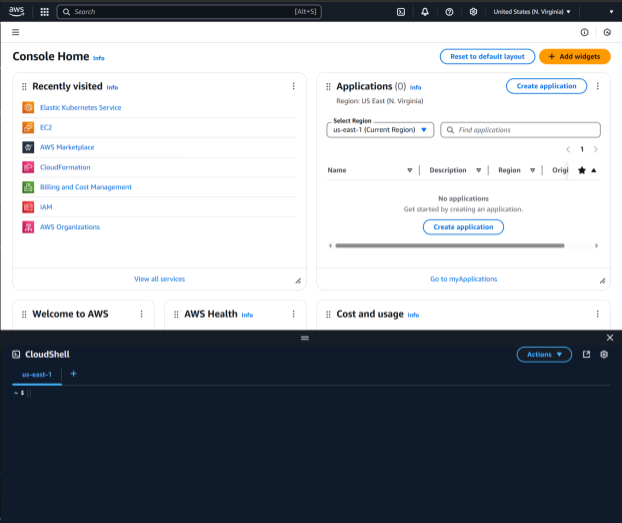
1. Log in to AWS
2. In the bottom left, click on the CloudShell button to access the console, and deploy the EKS cluster from there. Alternatively, you can use AWS CLI
3. Install eksctl to manage the EKS clusters via CloudShell
 # 1. Download the eksctl archive to your current directory
curl --silent --location "https://github.com/eksctl-io/eksctl/releases/latest/download/eksctl_$(uname -s)_amd64.tar.gz" -o eksctl.tar.gz

# 2. Extract the eksctl binary to the /tmp directory
tar xz -C /tmp -f eksctl.tar.gz

# 3. Move the eksctl binary to /usr/local/bin using sudo for system-wide access
sudo mv /tmp/eksctl /usr/local/bin

# 4. Make the eksctl binary executable (if it's not already)
sudo chmod +x /usr/local/bin/eksctl

# 5. Verify the installation by checking the eksctl version
eksctl version
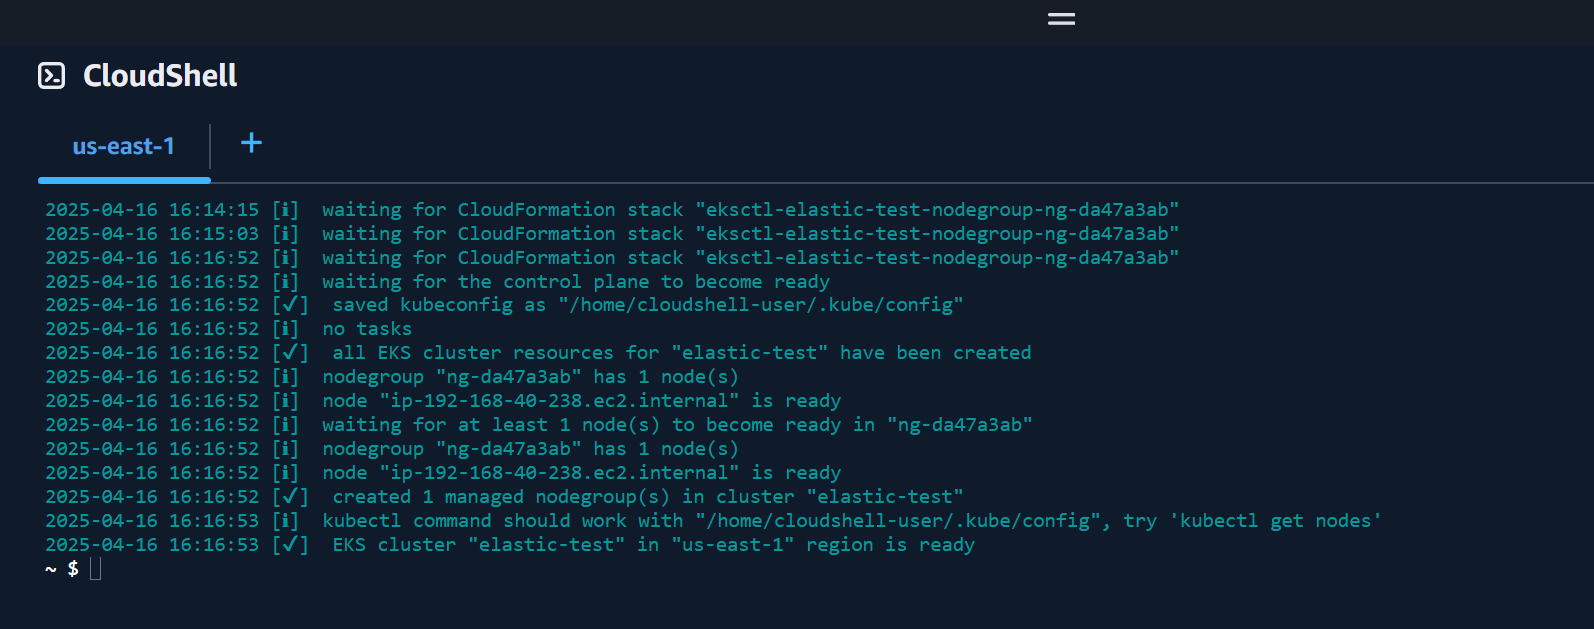
4. Create an Auto Mode EKS cluster
eksctl create cluster --name elastic-test --region us-east-1 --enable-auto-mode5. Wait until it is ready. It takes around 10 minutes to create
6. Install the Elastic Cloud on Kubernetes (ECK) operator
# Install ECK Custom Resource Definitions
kubectl create -f https://download.elastic.co/downloads/eck/2.16.1/crds.yaml

# Install the ECK operator
kubectl apply -f https://download.elastic.co/downloads/eck/2.16.1/operator.yaml
7. Create storageClass.
We create a gp3 EBS storageClass and EKS Auto Mode will automatically install the CSI Driver. You can see more disk alternatives here, and ECK storage recommendations here.
cat <<EOF | kubectl apply -f -
apiVersion: storage.k8s.io/v1
kind: StorageClass
metadata:
  name: auto-ebs-sc
  annotations:
    storageclass.kubernetes.io/is-default-class: "true"
provisioner: ebs.csi.eks.amazonaws.com
volumeBindingMode: WaitForFirstConsumer
parameters:
  type: gp3
  encrypted: "true"
EOF
8. Let’s create a single-node Elasticsearch instance that utilizes the storageClass we just created. We will request 1GB RAM and 1 cpu.
If you want to check some recipes for different setups, you can visit this link.
cat <<EOF | kubectl apply -f -
apiVersion: elasticsearch.k8s.elastic.co/v1
kind: Elasticsearch
metadata:
  name: quickstart
spec:
  version: 9.0.0
  nodeSets:
    - name: default
      count: 1
      podTemplate:
        spec:
          containers:
            - name: elasticsearch
              resources:
                requests:
                  memory: 1Gi
                  cpu: 1
                limits:
                  memory: 1Gi
                  cpu: 1
      volumeClaimTemplates:
        - metadata:
            name: elasticsearch-data
          spec:
            accessModes:
              - ReadWriteOnce
            resources:
              requests:
                storage: 5Gi
            storageClassName: auto-ebs-sc
EOF
9. Let’s also deploy a Kibana single-node cluster. For Kibana, we will add a LoadBalancer, which will give us an external IP we can use to reach Kibana from our device.
cat <<EOF | kubectl apply -f -
apiVersion: kibana.k8s.elastic.co/v1
kind: Kibana
metadata:
  name: quickstart
spec:
  version: 9.0.0
  http:
    service:
      metadata:
        annotations:
          service.beta.kubernetes.io/aws-load-balancer-scheme: "internet-facing"
      spec:
        type: LoadBalancer
  count: 1
  elasticsearchRef:
    name: quickstart
EOF
Note the annotation:
service.beta.kubernetes.io/aws-load-balancer-scheme: "internet-facing"
It is very important because it tells Auto Mode to provide a public-facing LoadBalancer. If not set, the LoadBalancer will be internal.
10. Check that your pods are running
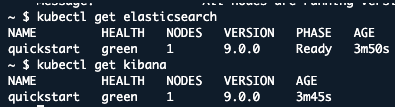
kubectl get pods11. You can also run kubectl get elasticsearch and kubectl get kibana for more specific stats like Elasticsearch version, nodes, and health.
12. Access your services
kubectl get svc
This will show you the external URL for Kibana under EXTERNAL-IP. It might take a few minutes for the LoadBalancer to provision. Copy the value of EXTERNAL-IP.
13. Get the Elasticsearch password for the elastic user:
kubectl get secret quickstart-es-elastic-user -o=jsonpath='{.data.elastic}' | base64 --decode
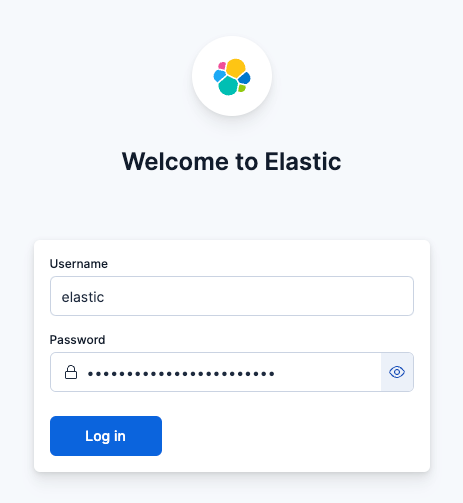
14. Access Kibana through your browser:
a. URL: https://<EXTERNAL_IP>:5601
b. Username:elastic
c. Password:Arc133835D8507OIgKqkWBGx (from previous step)
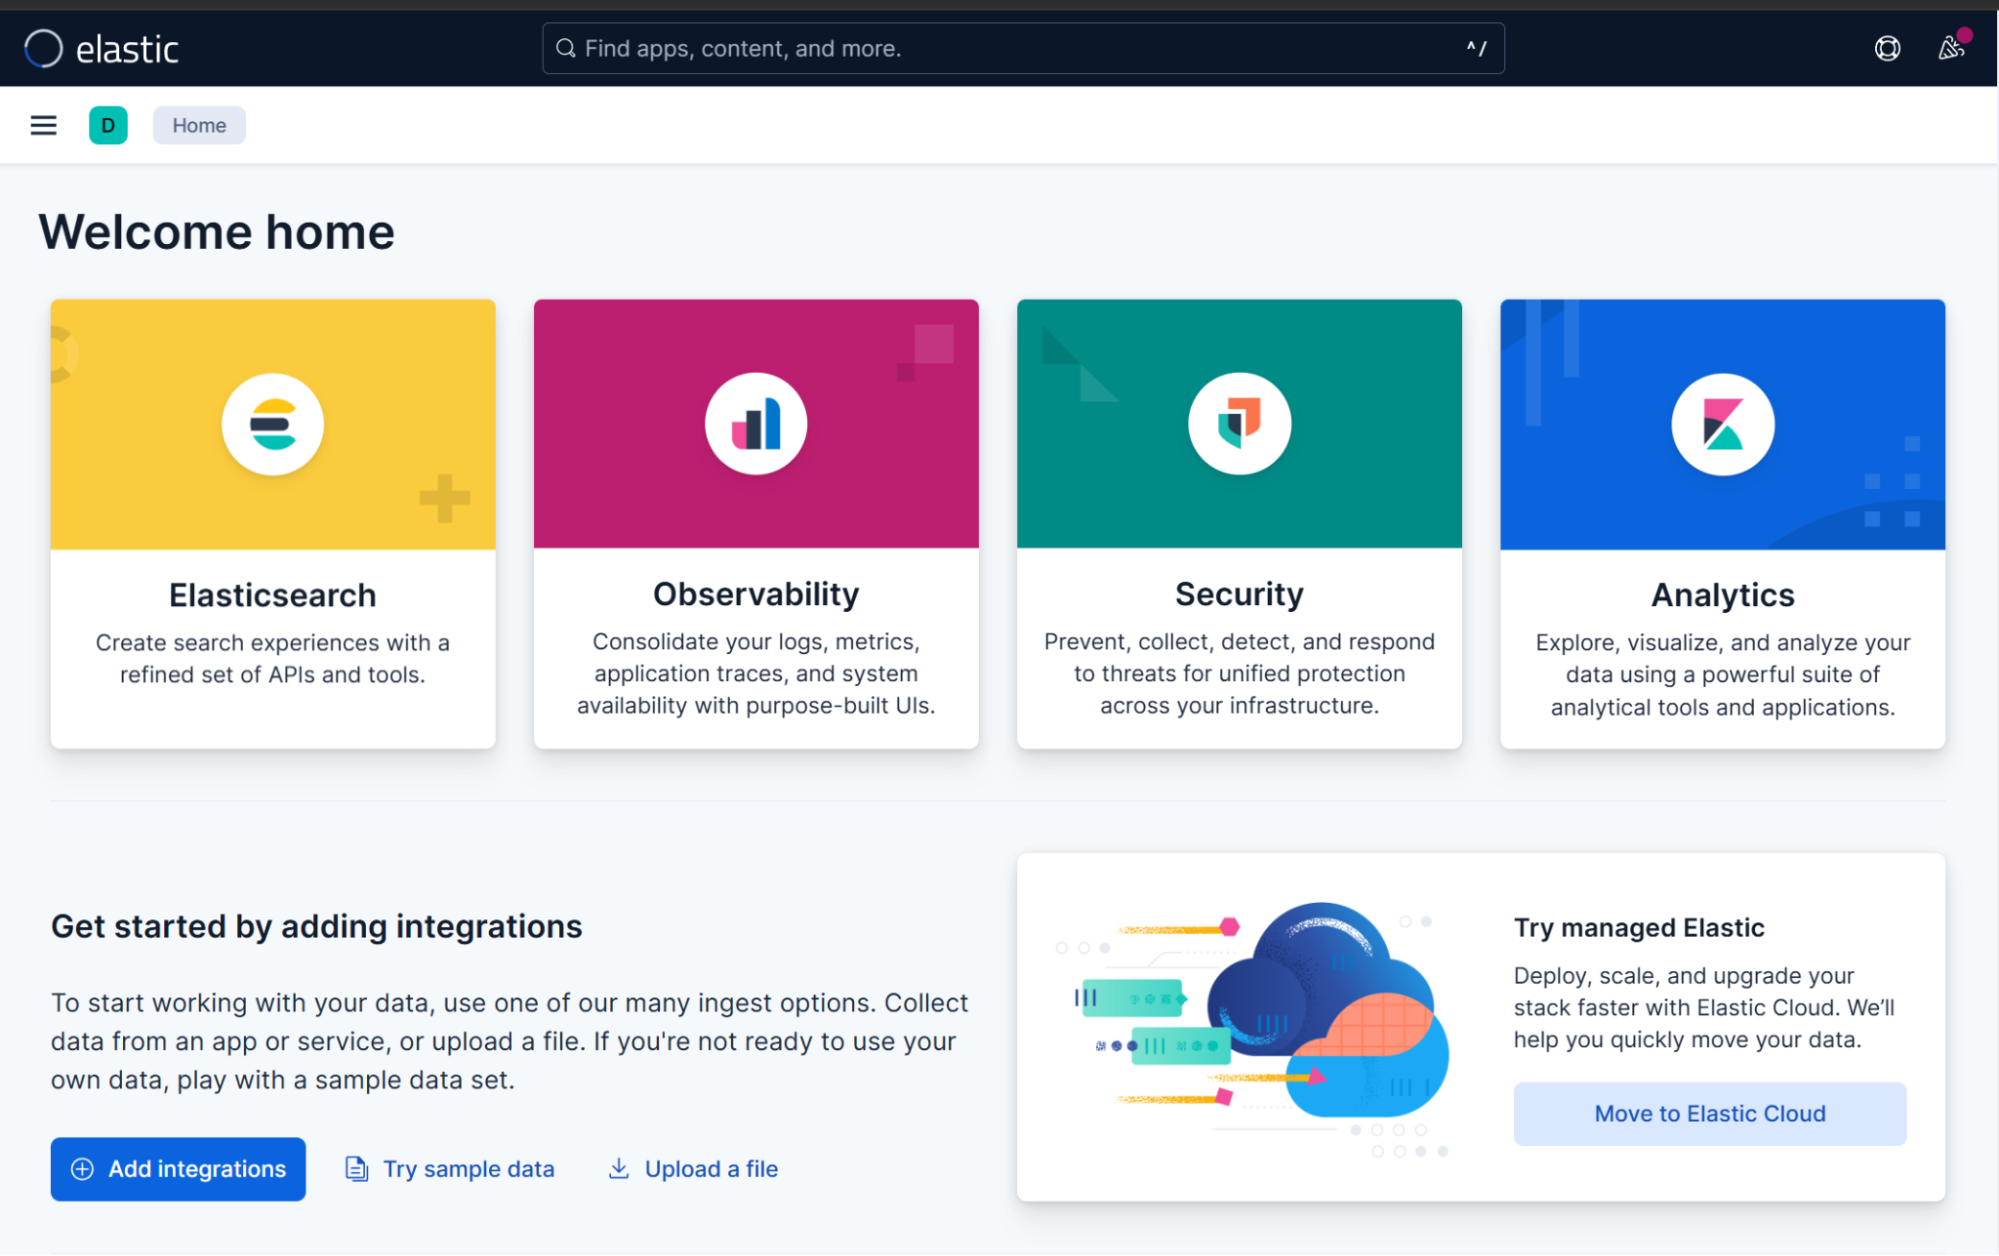
15. When accessing Elastic from your browser you will see this welcome screen.
If you want to change the Elasticsearch cluster specifications like changing or resizing nodes, you can apply the yml manifest again with the new settings:
cat <<EOF | kubectl apply -f -
apiVersion: elasticsearch.k8s.elastic.co/v1
kind: Elasticsearch
metadata:
  name: quickstart
spec:
  version: 9.0.0
  nodeSets:
    - name: default
      count: 2
      podTemplate:
        spec:
          containers:
            - name: elasticsearch
              resources:
                requests:
                  memory: 1.5Gi
                  cpu: 2
                limits:
                  memory: 1.5Gi
                  cpu: 2
      volumeClaimTemplates:
        - metadata:
            name: elasticsearch-data
          spec:
            accessModes:
              - ReadWriteOnce
            resources:
              requests:
                storage: 7.5Gi
            storageClassName: auto-ebs-sc
EOF
In this example, we are going to add one more node, increase RAM, CPU, and disk.
The same applies to Kibana:
cat <<EOF | kubectl apply -f -
apiVersion: kibana.k8s.elastic.co/v1
kind: Kibana
metadata:
  name: quickstart
spec:
  version: 9.0.0
  http:
    service:
      metadata:
        annotations:
          service.beta.kubernetes.io/aws-load-balancer-scheme: "internet-facing"
      spec:
        type: LoadBalancer
  count: 1
  elasticsearchRef:
    name: quickstart
  podTemplate:
    spec:
      containers:
        - name: kibana
          env:
            - name: NODE_OPTIONS
              value: "--max-old-space-size=1024"
          resources:
            requests:
              memory: 0.5Gi
              cpu: 0.5
            limits:
              memory: 1Gi
              cpu: 1
EOF
We can adjust the container CPU/RAM and also the Node.js memory usage (max-old-space-size)
Keep in mind that existing volume claims cannot be downsized. After applying the update, the operator will make the changes with minimal disruption time.
Remember to delete the cluster when you're done testing to avoid unnecessary costs.
eksctl delete cluster --name elastic-test --region us-east-1Conclusion
In this guide, we deployed Elasticsearch and Kibana on AWS EKS Auto Mode using ECK. Auto Mode handles the cluster resources for you, while ECK manages scaling and orchestration. The result is a setup that takes more effort than using the AWS Marketplace, but much less than running Elasticsearch directly on VMs. It’s a good balance between control and simplicity, and a good base to build on.
Next steps
If you want to learn more about Kubernetes and Auto Mode, check out these articles:
- Elastic Cloud on Kubernetes | Elastic Docs
- Amazon Elastic Kubernetes Service (EKS)
- Automate cluster infrastructure with EKS Auto Mode - Amazon EKS
Ready to try this out on your own? Start a free trial.
Want to get Elastic certified? Find out when the next Elasticsearch Engineer training is running!
Related content
November 7, 2025
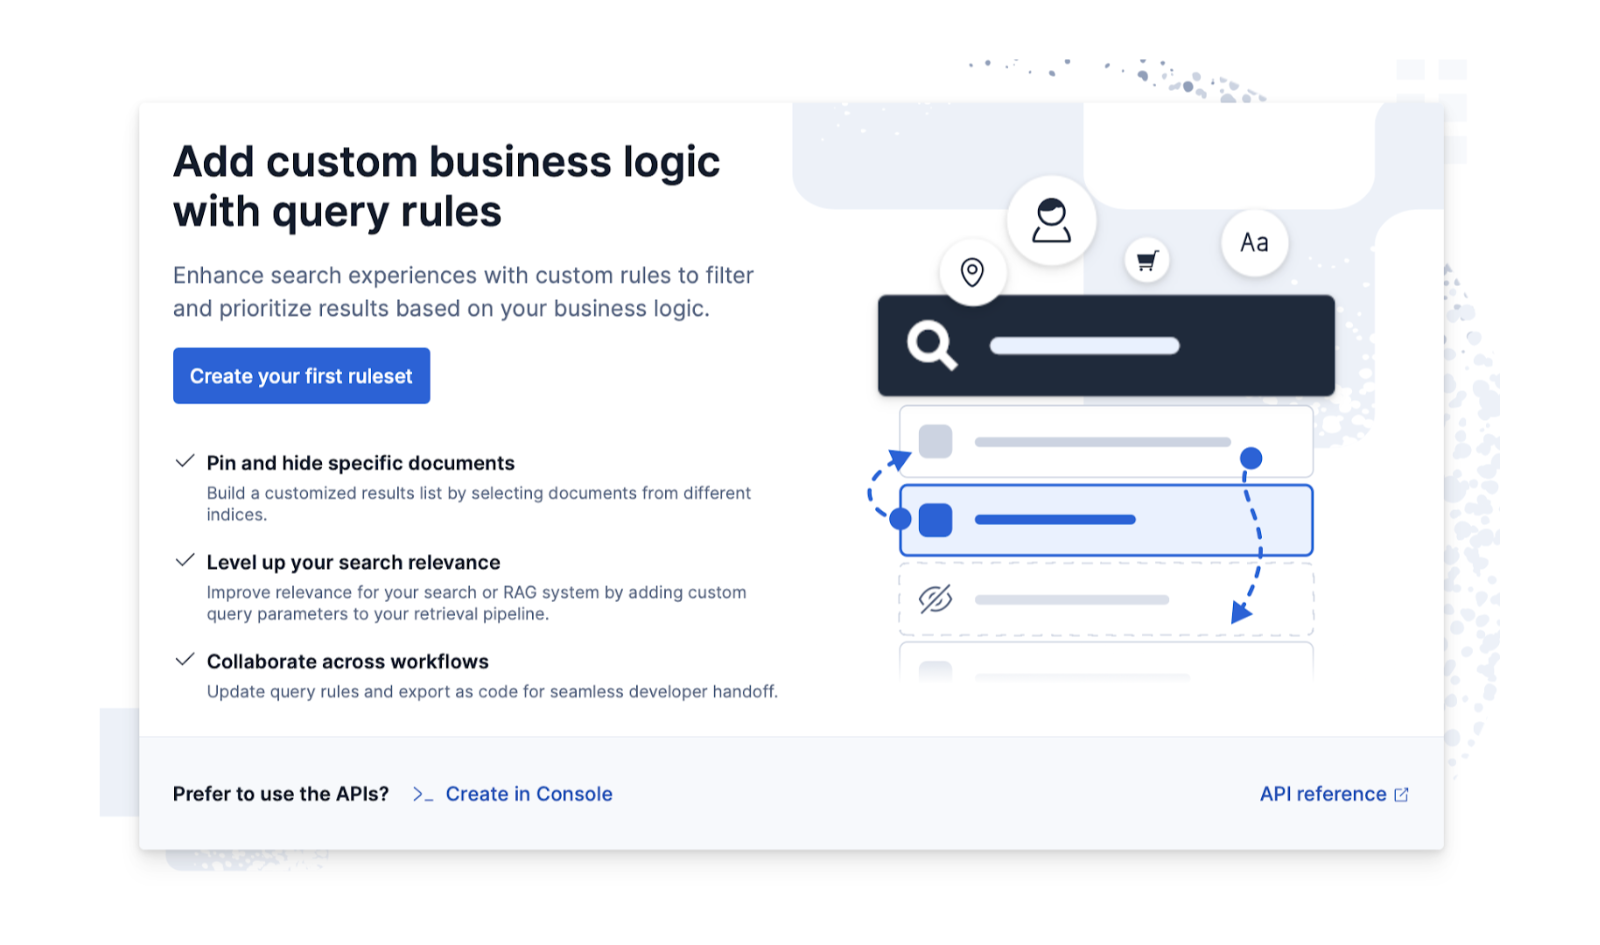
Introducing Elasticsearch Query Rules UI in Kibana
Learn how to use the Elasticsearch Query Rules UI to add or exclude documents from search queries using customizable rulesets in Kibana, without affecting organic ranking.

October 31, 2025
How to install and configure Elasticsearch on AWS EC2
Learn how to deploy Elasticsearch and Kibana on an Amazon EC2 instance in this step-by-step guide.
October 29, 2025
How to deploy Elasticsearch on an Azure Virtual Machine
Learn how to deploy Elasticsearch on Azure VM with Kibana for full control over your Elasticsearch setup configuration.
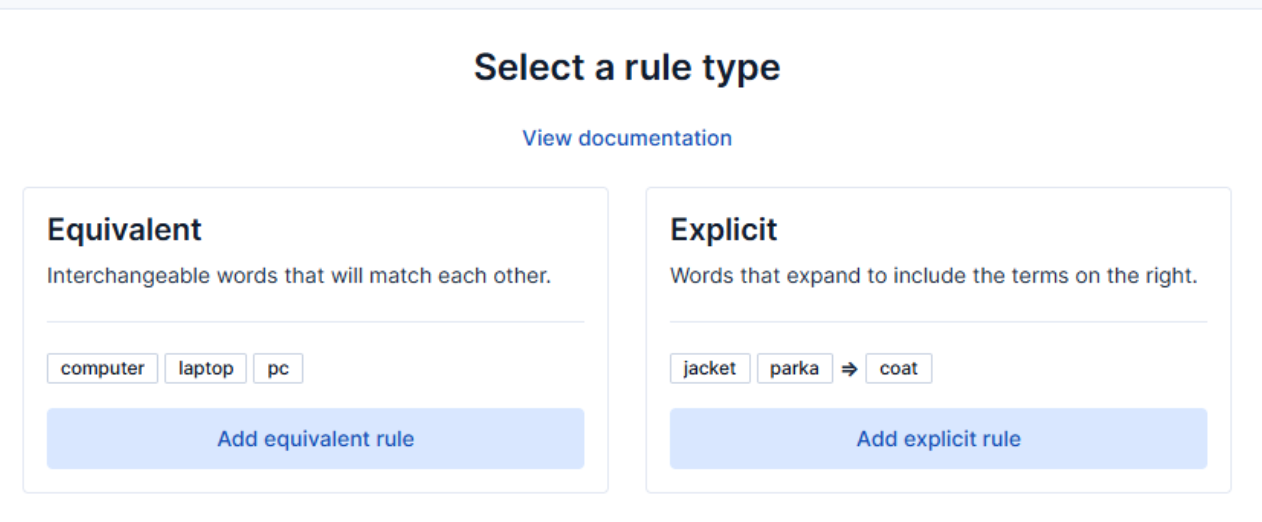
How to use the Synonyms UI to upload and manage Elasticsearch synonyms
Learn how to use the Synonyms UI in Kibana to create synonym sets and assign them to indices.

October 8, 2025
How to reduce the number of shards in an Elasticsearch Cluster
Learn how Elasticsearch shards affect cluster performance in this comprehensive guide, including how to get the shard count, change it from default, and reduce it if needed.