Introducing Kibana Spaces for Organization and Security
Organize your work with Kibana spaces
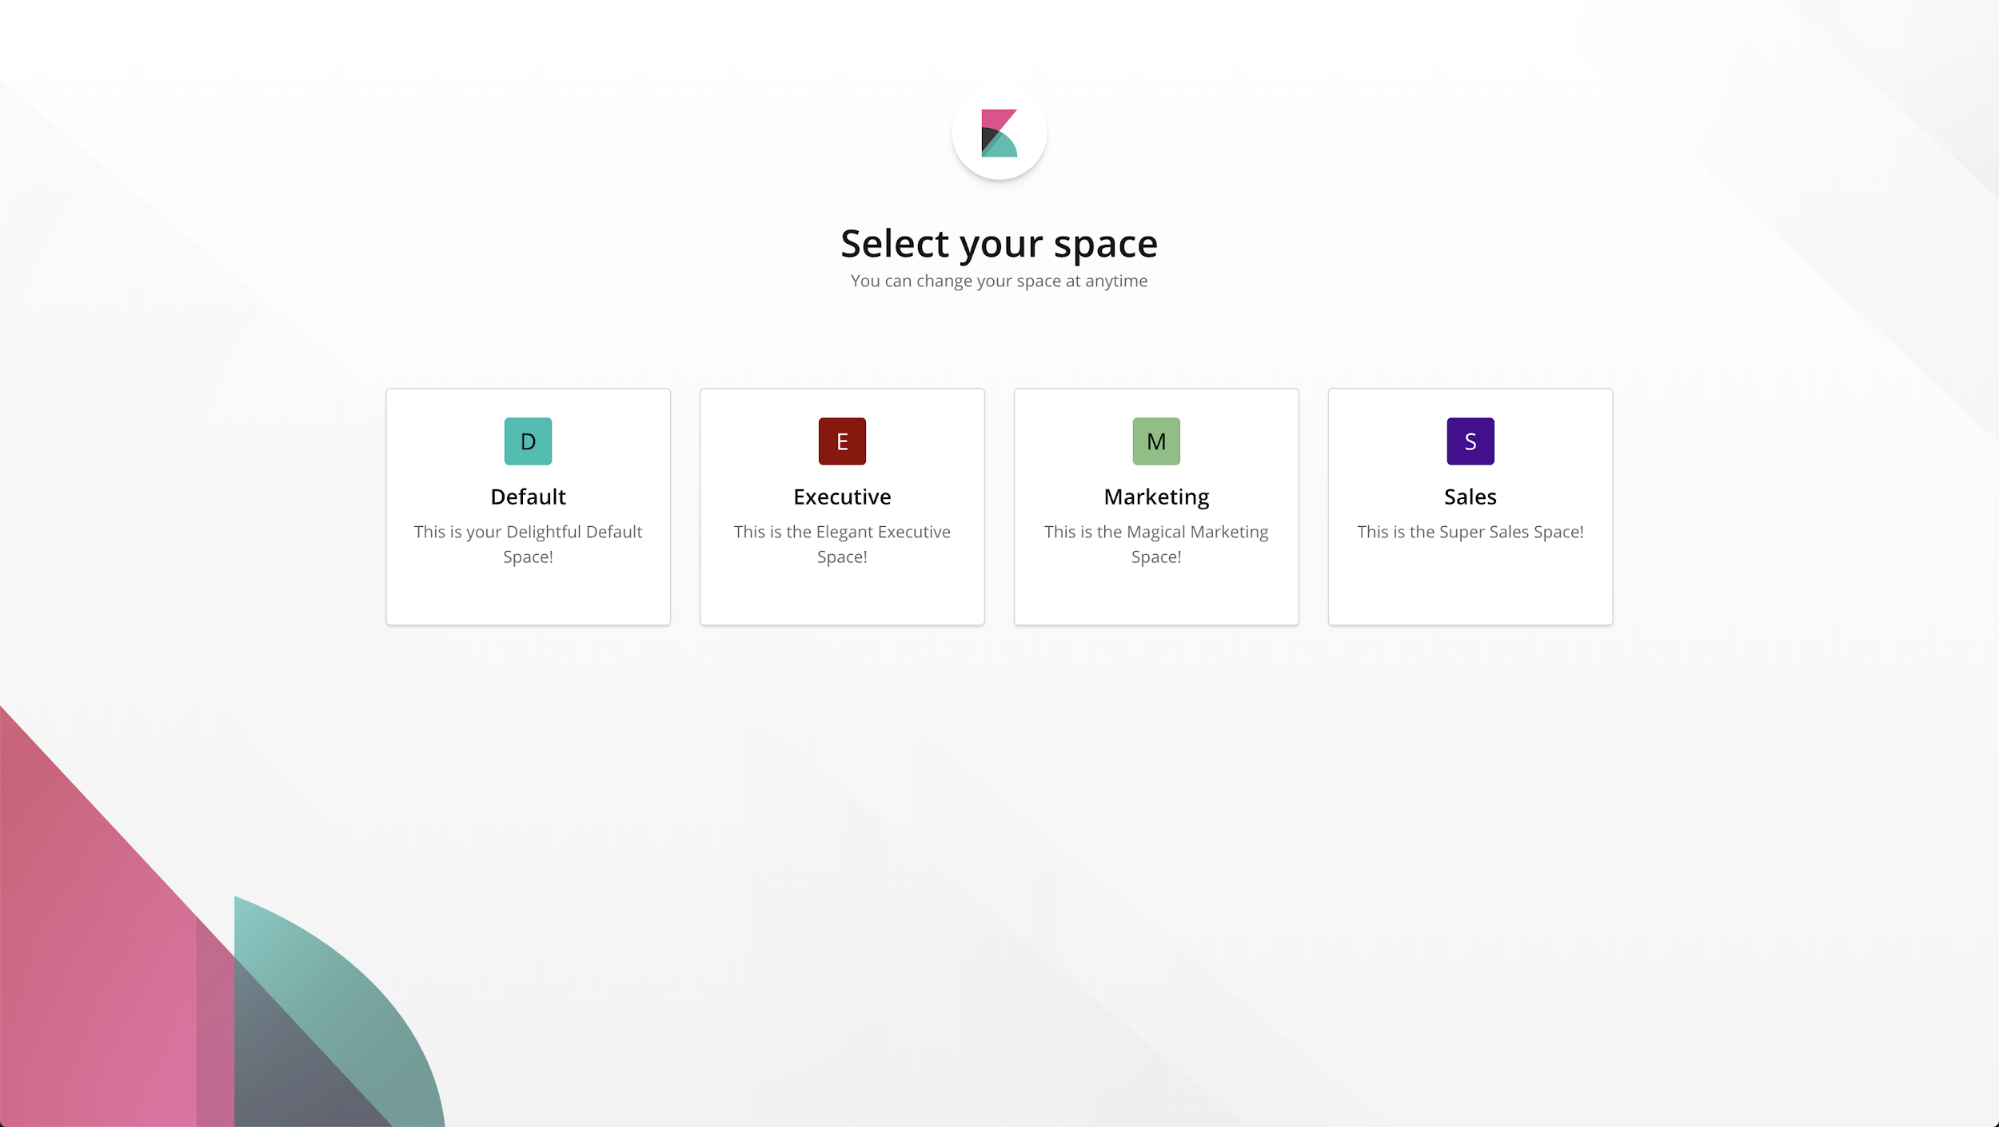
Version 6.5 introduces our new Spaces feature. Spaces allows you to organize your dashboards, visualizations, and other saved objects into meaningful categories. Each space is independent, so objects that exist in one space don’t clutter other spaces.
Getting started
Kibana automatically creates the “Default” space for you. This is where you’ll find your existing saved objects if you are upgrading from a previous version.
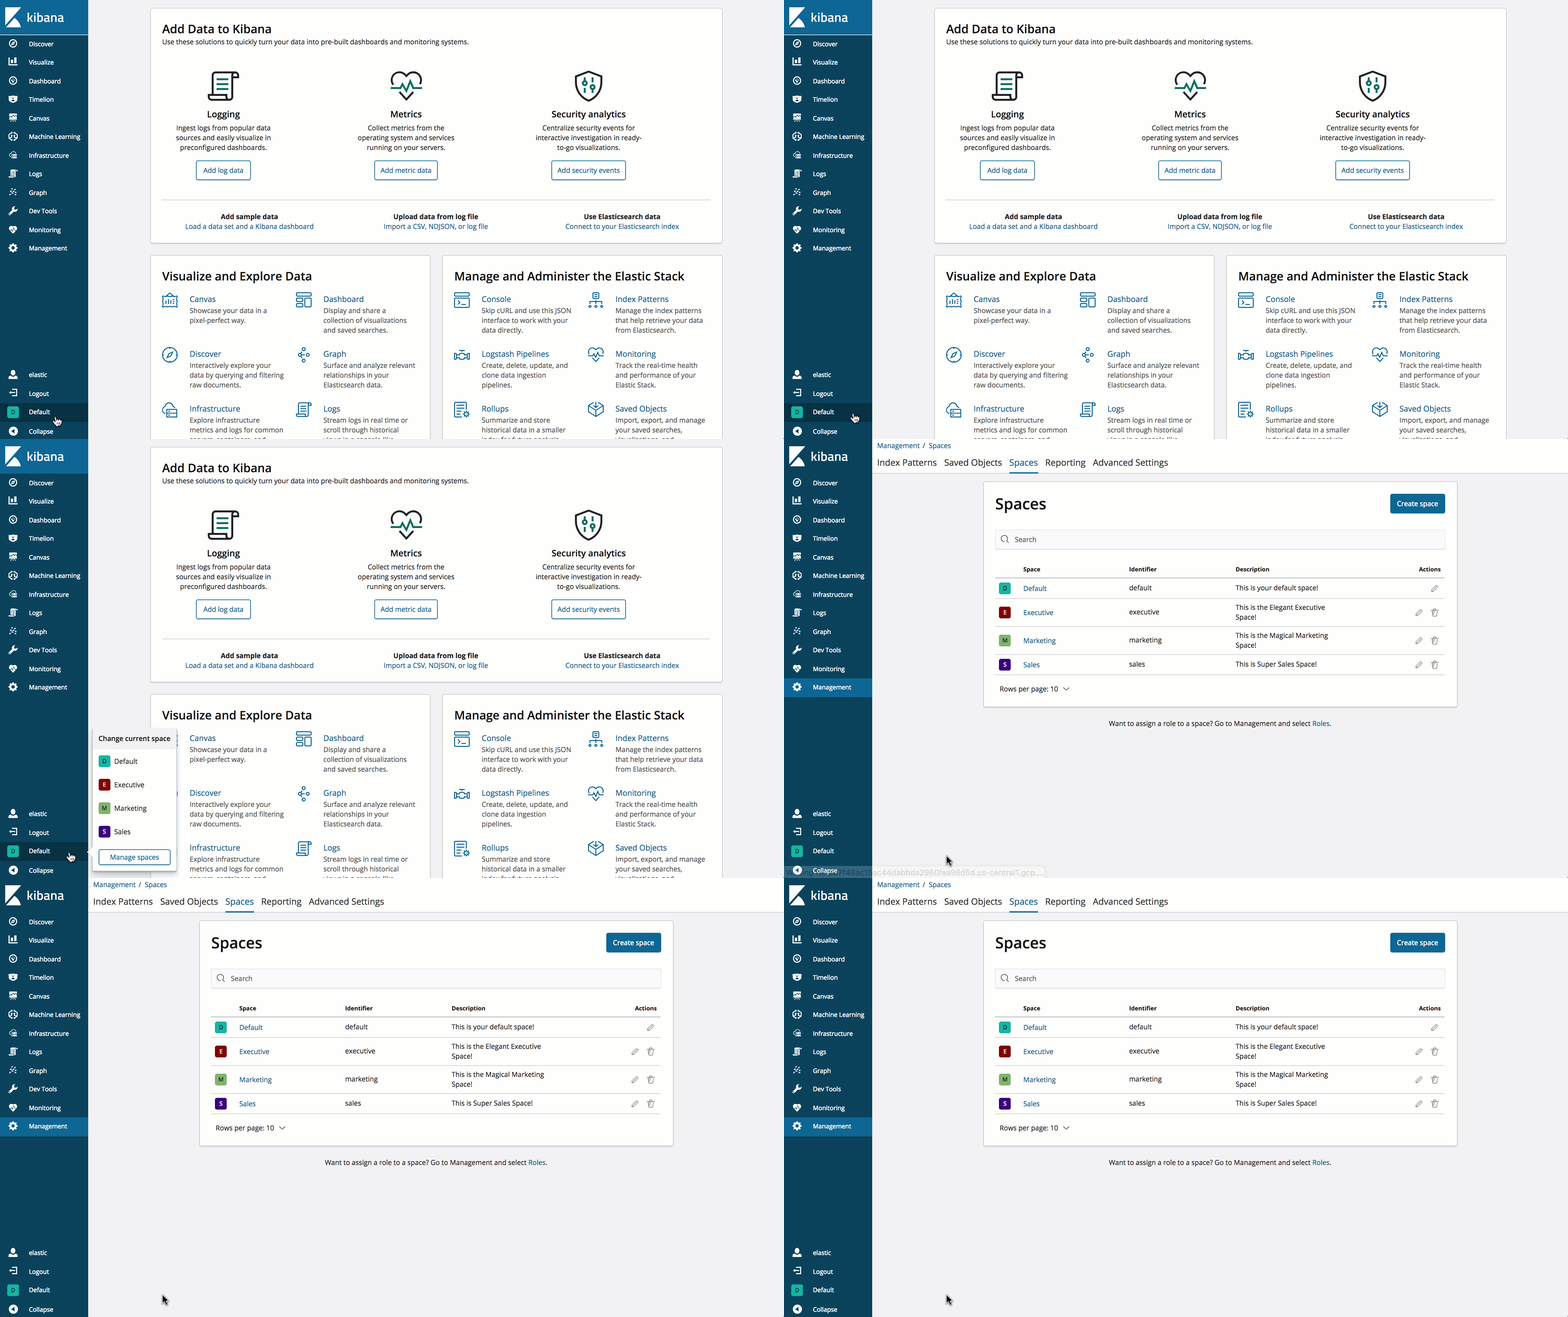
Your current space is always visible in the bottom left of the Kibana navigation bar. You can also navigate to Spaces management UI directly from there to create a new space. Click the “Create space” button.
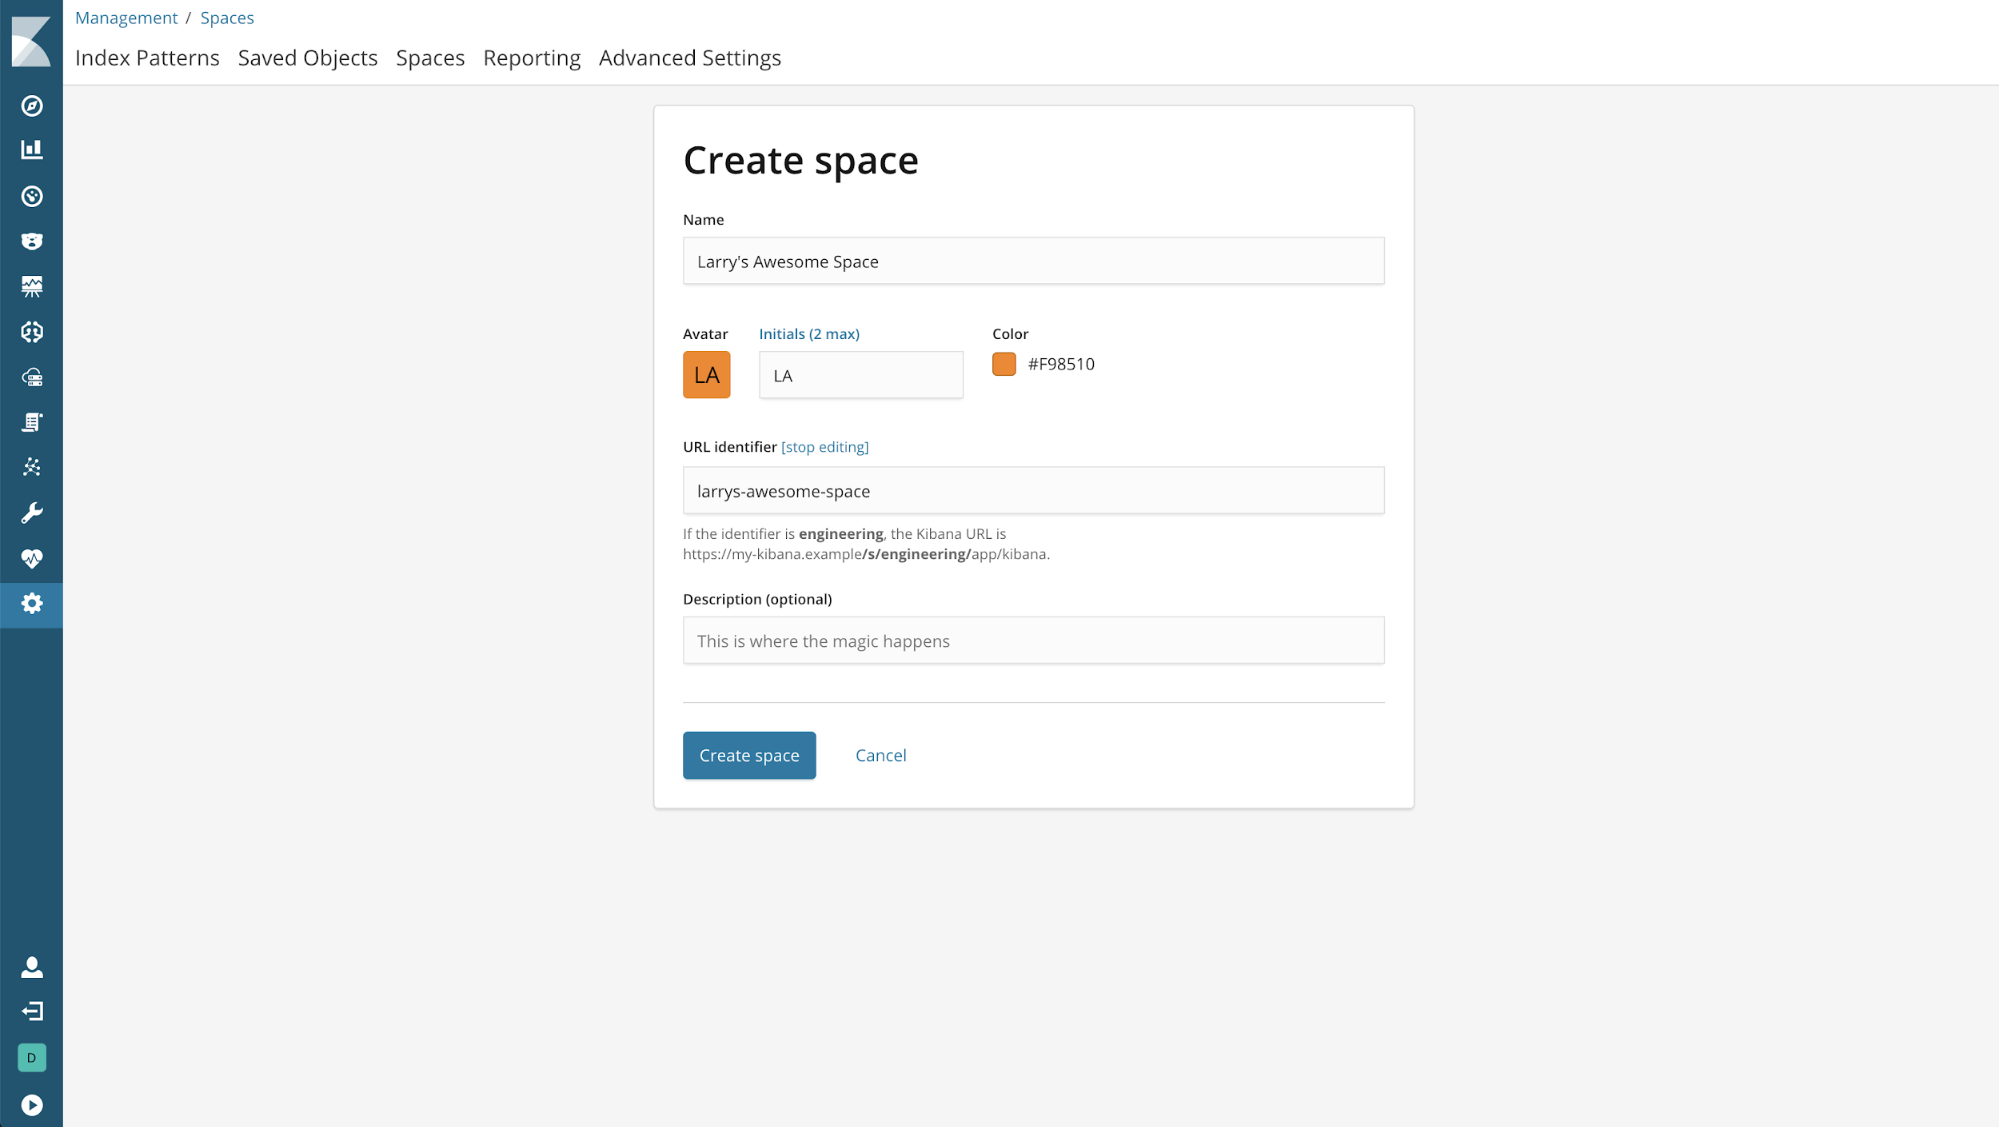
Now give it a name, and customize the avatar to your liking:
A note on the URL Identifier
This identifier becomes part of Kibana’s URL. You can customize the URL when creating a space, but once you create it, you are not allowed to update it.
Where am I?
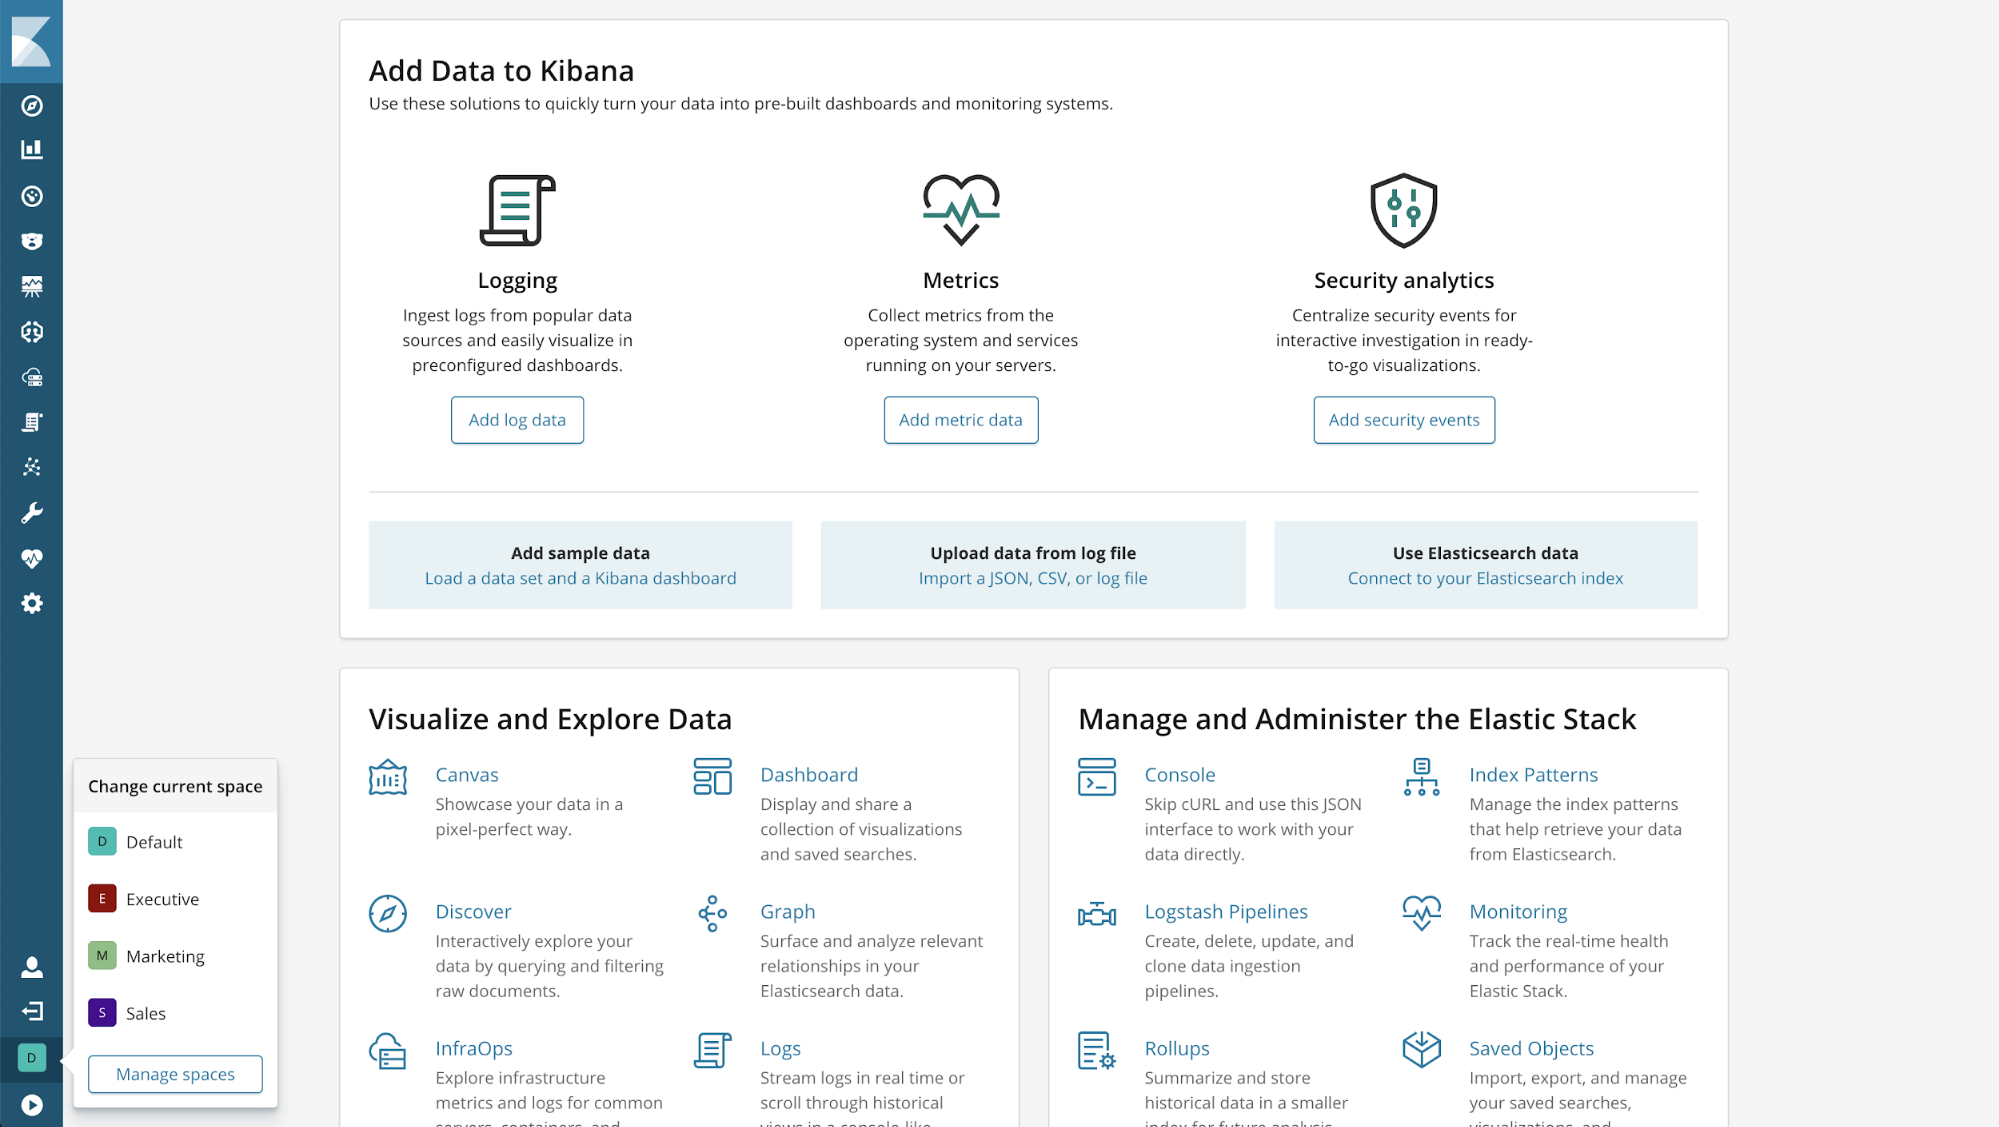
You can always see your current space by looking at the Kibana navigation bar. Clicking the space avatar reveals a menu, which allows you to change to a different space.
Deleting a space
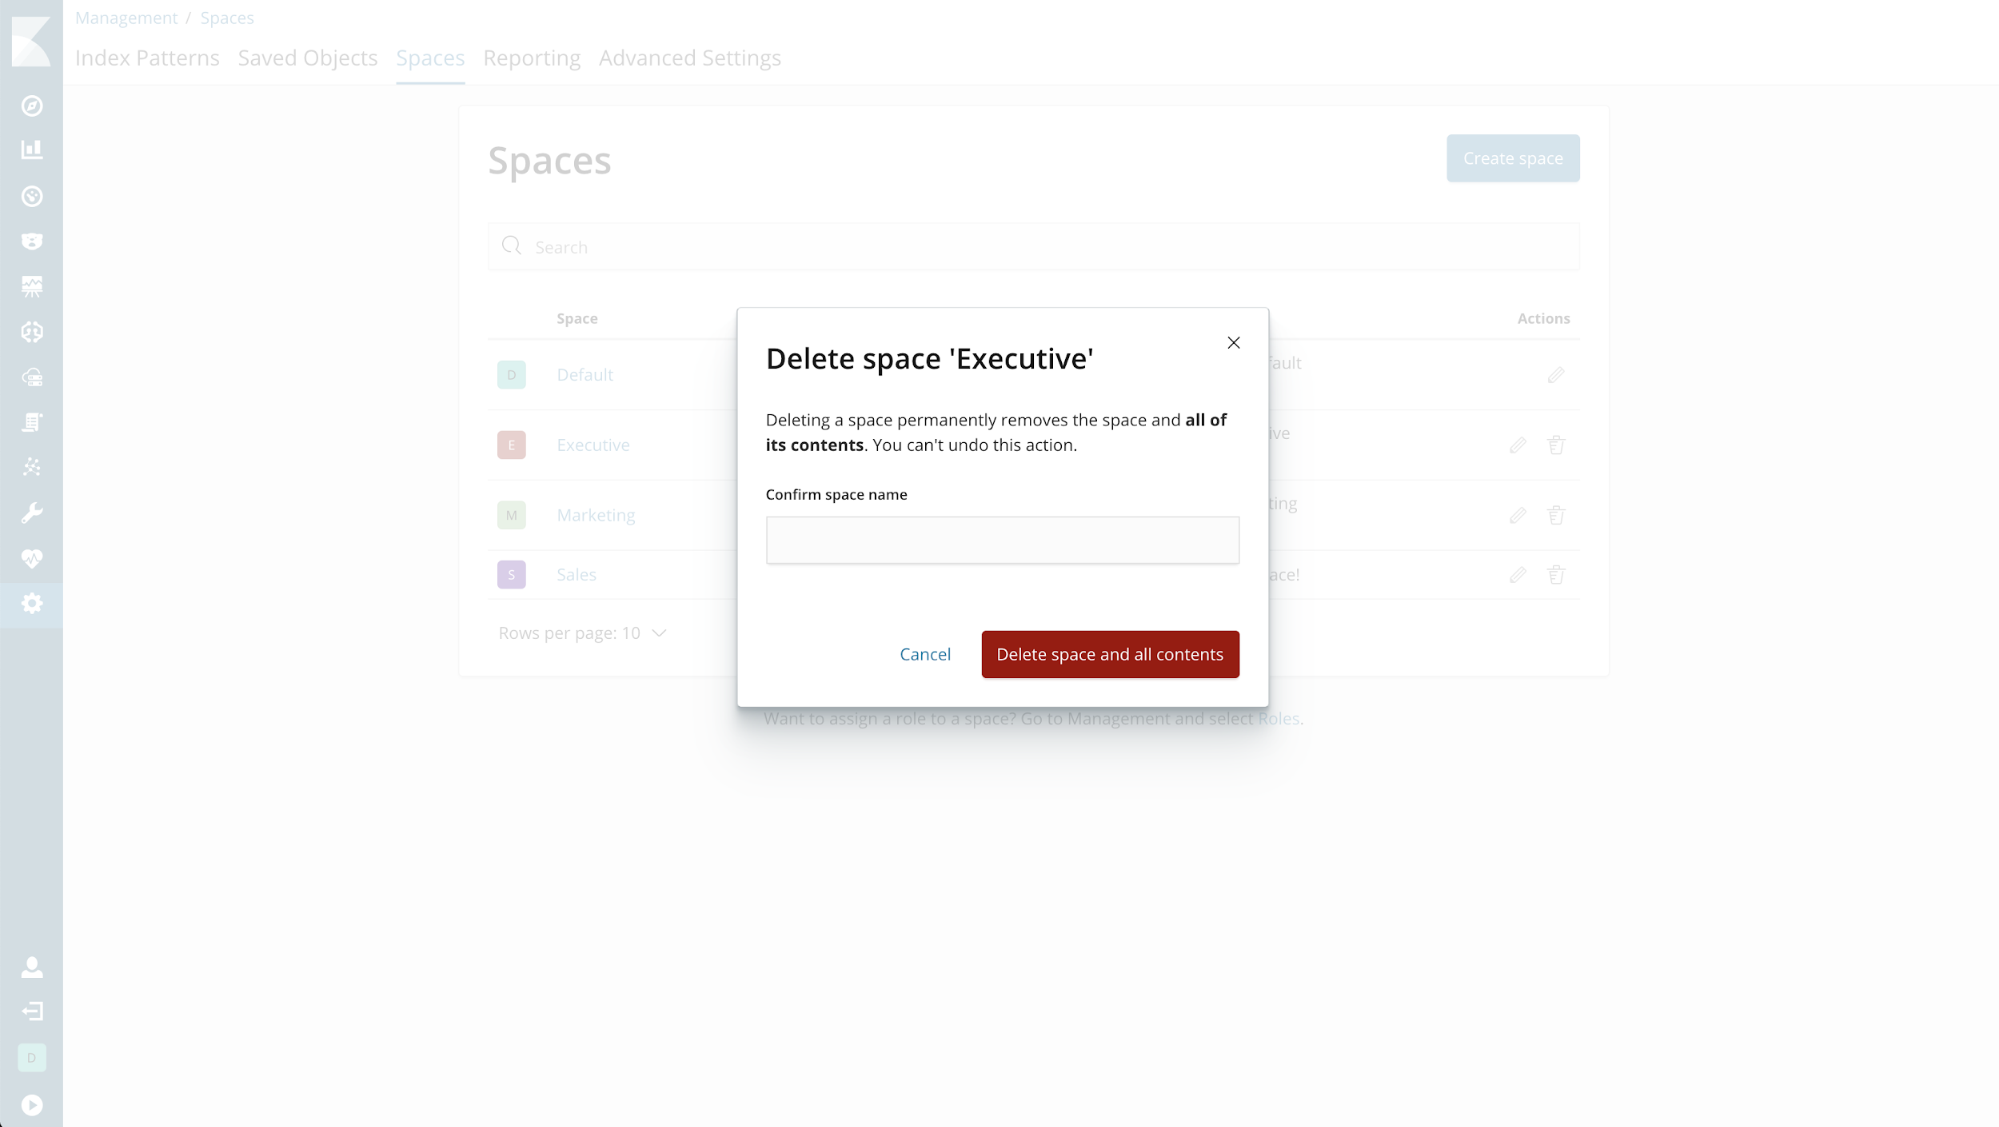
If you want to delete a space, head over to the Management > Spaces screen. From here, click the trash can next to the space you want to delete.
Be careful! Deleting a space deletes all saved objects inside of that space, and cannot be undone!
Moving objects between spaces
You can move saved objects from one space to another via import/export. The Migrating to Spaces blog will teach you everything that you need to know.
Securing access to spaces
You can control which roles have access to each space. To get started, navigate to the Management > Roles screen.
Access to spaces is governed by a concept called “Minimum Privilege”. There are three options for the minimum privilege:
|
Minimum Privilege |
Description |
|
all |
Users will have read/write access to all spaces in Kibana. Additionally, they will be able to create, edit, and delete any space in Kibana. This extends to spaces that are created in the future. |
|
read |
Users will have read-only access to all spaces in Kibana. This extends to spaces that are created in the future. |
|
none |
Users cannot access any space in Kibana. |
Once a minimum privilege is set, you can customize access to specific spaces.
Examples of securing spaces
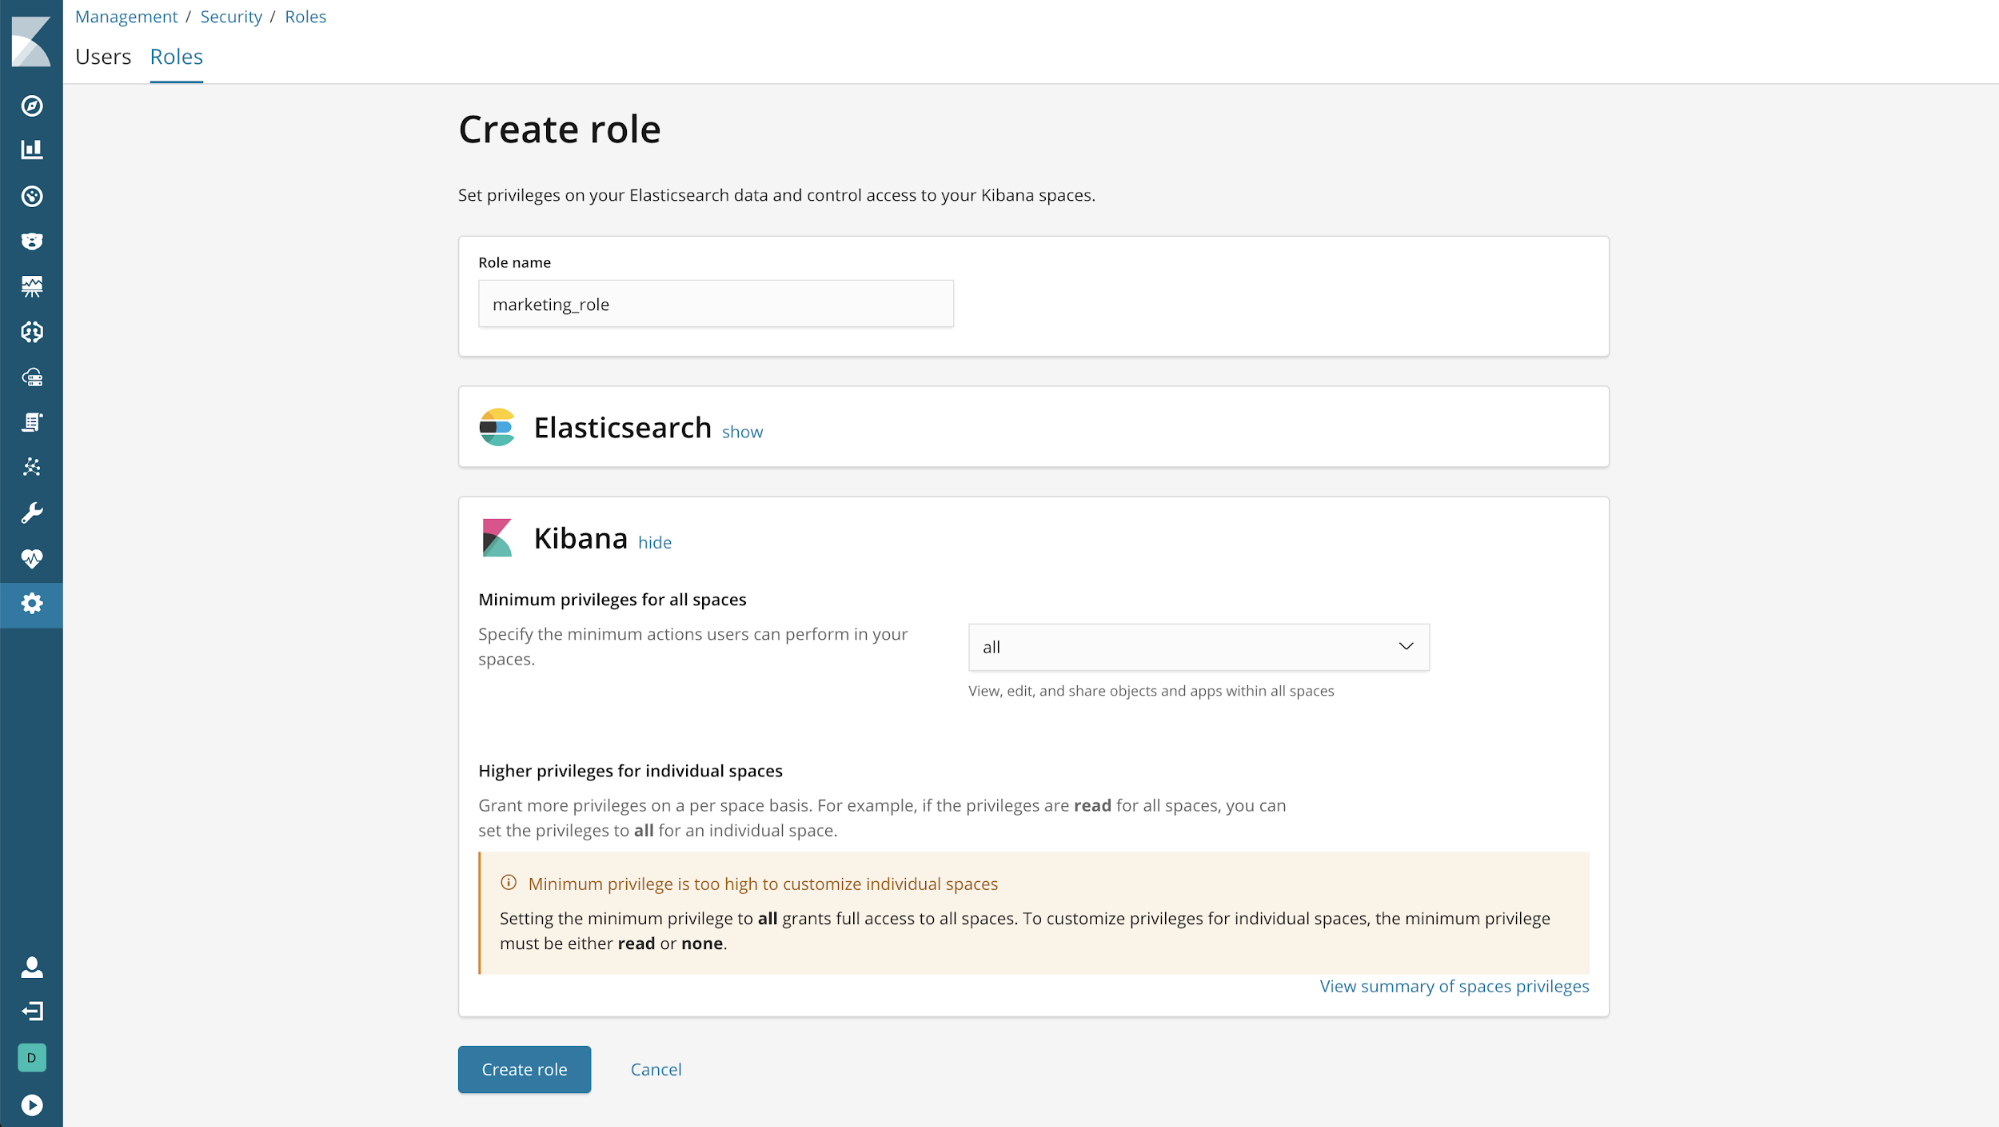
Example: Full access to all spaces
Setting the minimum privilege to "all" grants access to all spaces. This setting prevents you from customizing access to specific spaces.
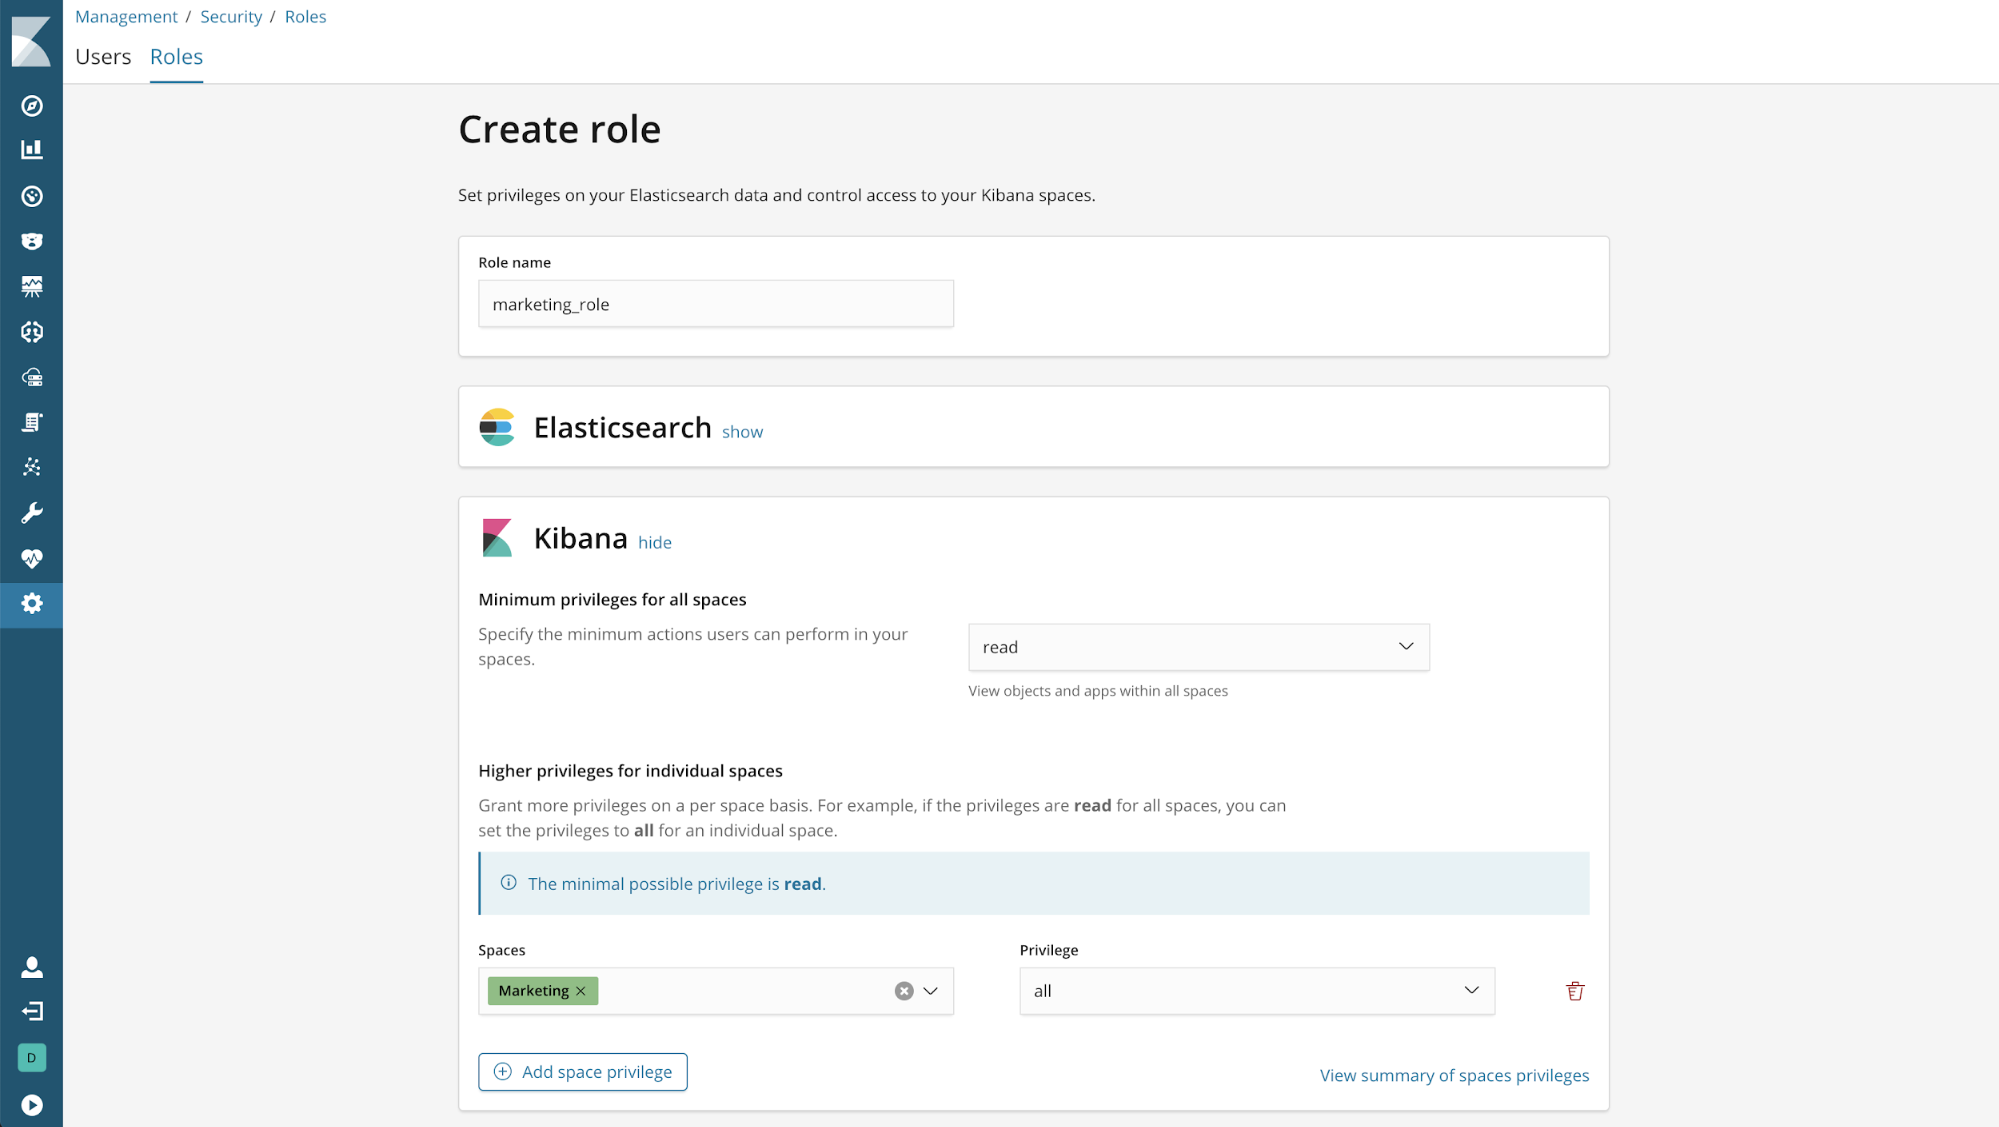
Example: Read-only access to all spaces, with full access to the Marketing space
Setting the minimum privilege to "read" grants read-only access to all spaces. This setting allows you to grant "all" access to specific spaces as needed, but you are not able to revoke access to a specific space.
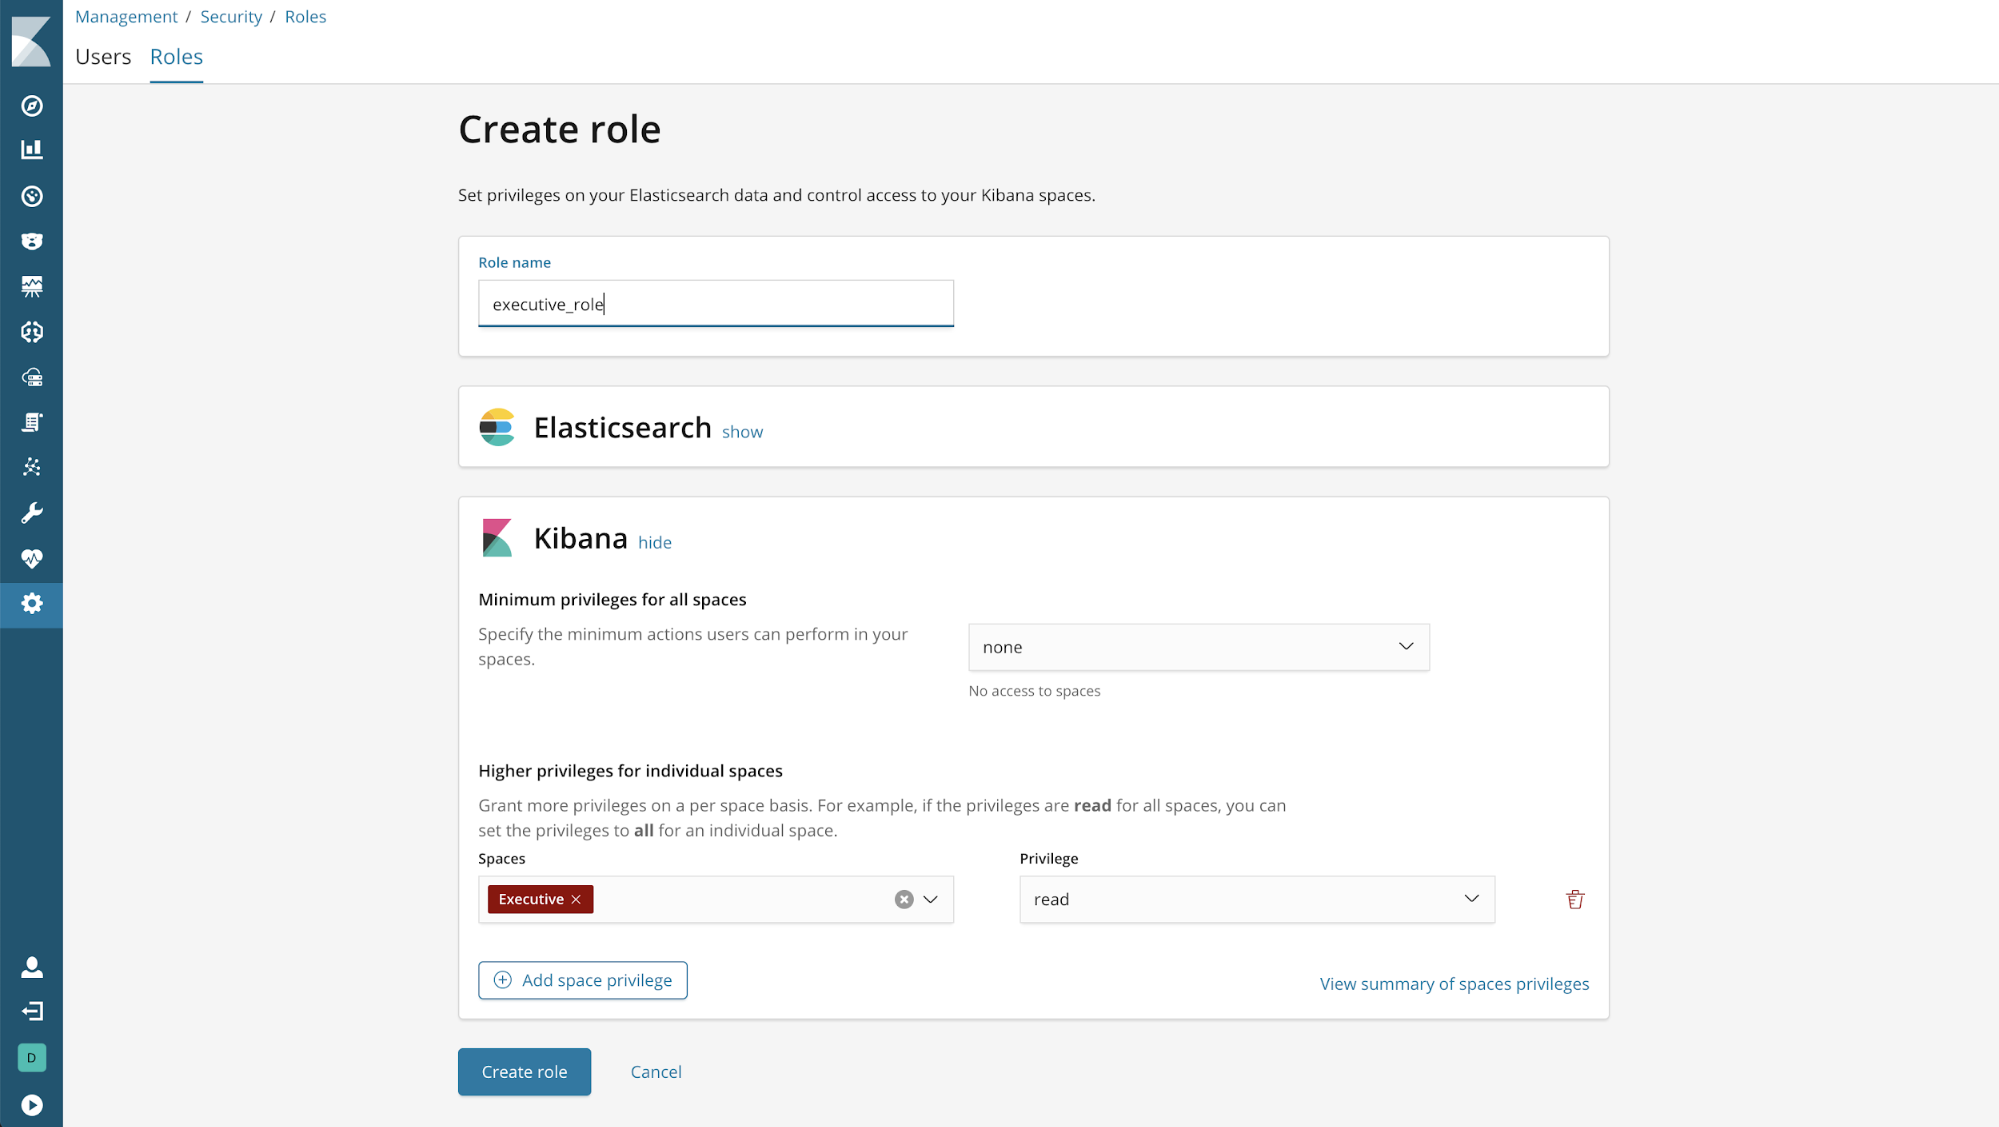
Example: Read-only access to just the Executive space
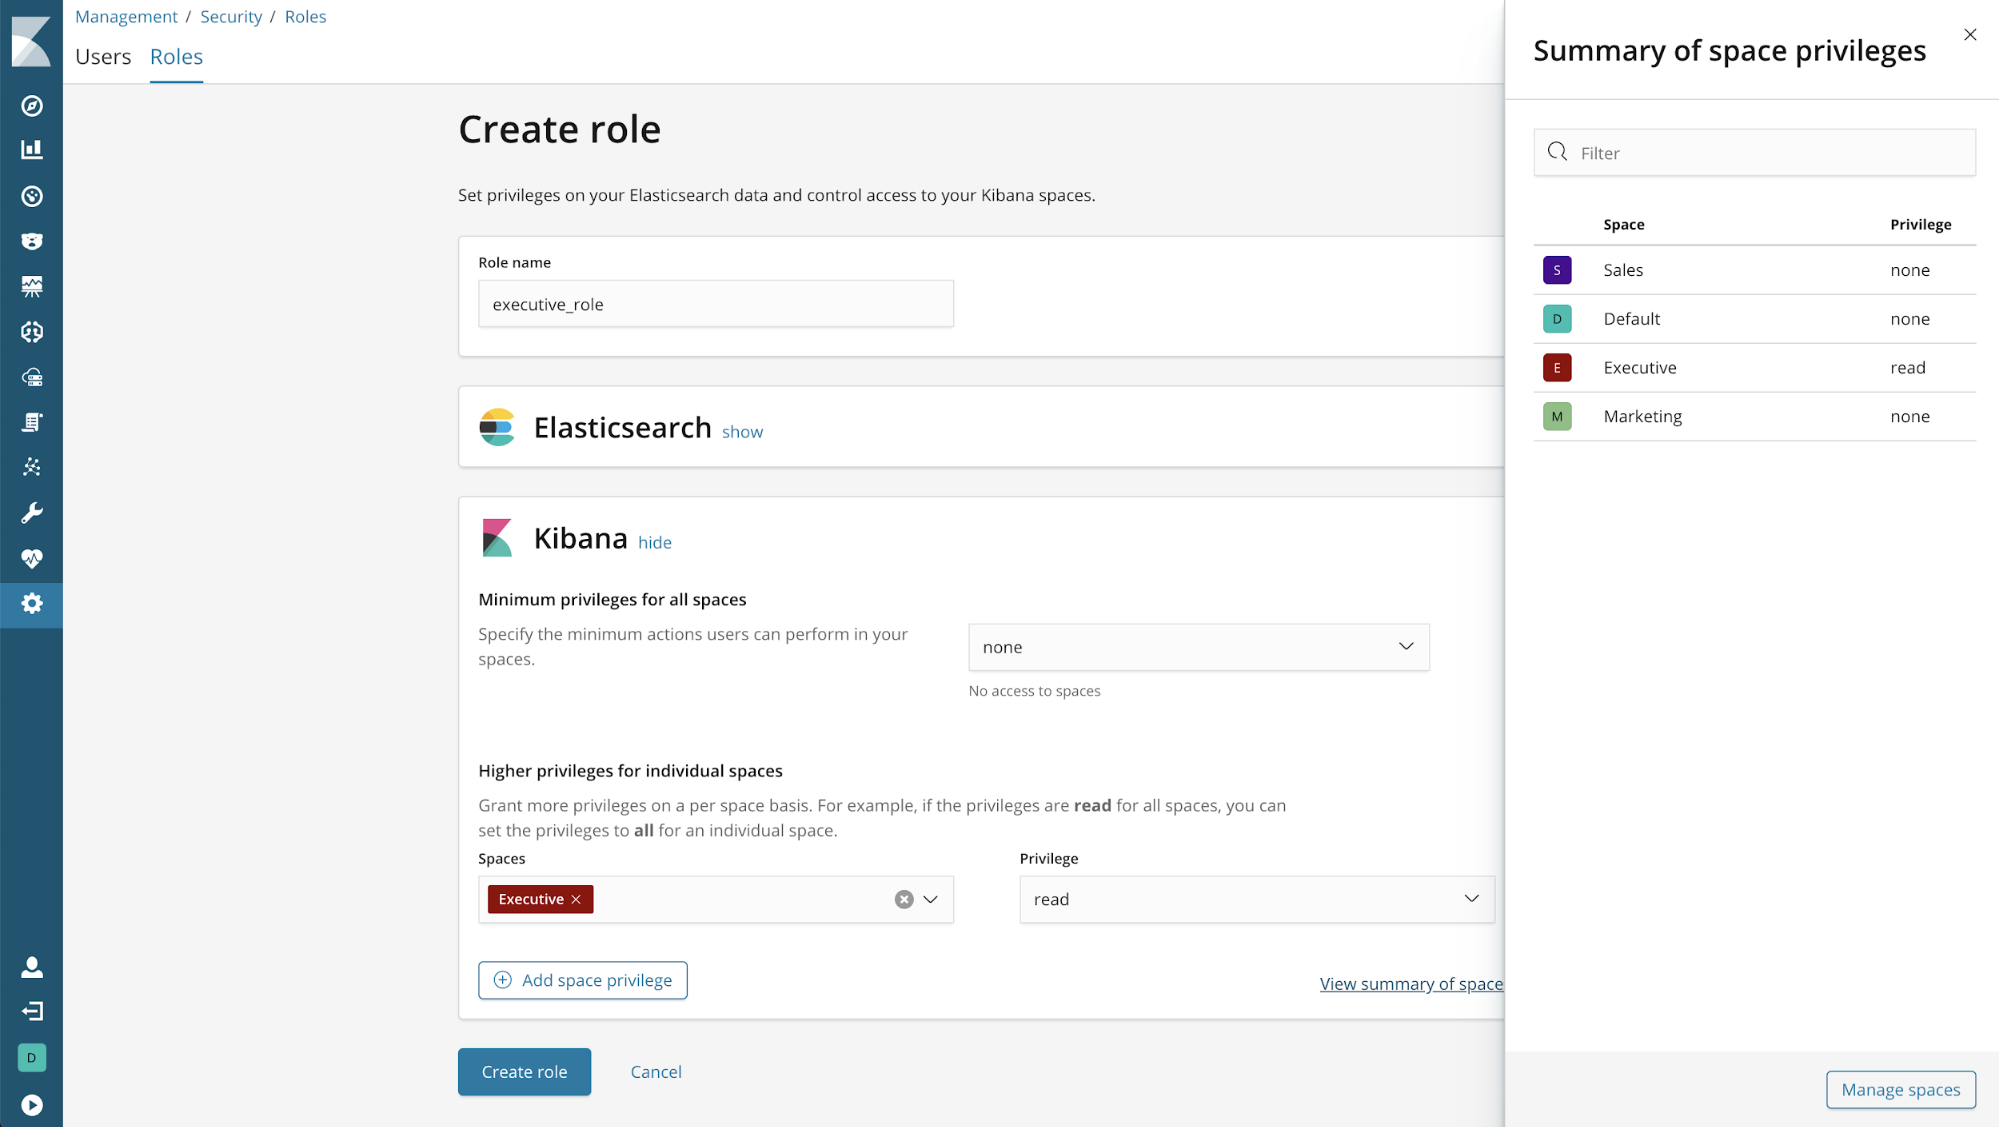
Setting the minimum privilege to “none” prevents access to any space. Additionally, the space privilege for Executive allows read-only access to that space.
Viewing all space privileges
To see what access a role has to all spaces in Kibana, click the “View summary of spaces privileges” link:
Wrapping up
Spaces is a powerful new feature in Kibana. Organize your dashboards and visualizations like never before. Take it a step further and secure access using our completely redesigned role management interface. To get started, be sure to check our How to Migrate to Kibana Spaces blog.
Editor's Note: Starting with Elastic Stack 6.8 and 7.1, role-based access control is free in the default distribution, and no longer requires a Gold or Platinum license. This blog has been updated to reflect this change.