Precision. When it matters, it matters a lot. When you’re searching for something specific, precision is super important. However, sometimes a query that is too precise returns no results, so it’s advantageous to have the flexibility to broaden the scope of a query to find additional potentially relevant data.
This blog post covers using Elasticsearch and Azure Open AI to create an example app that demonstrates how to find exact results when searching for very specific real estate properties while still providing relevant results when a specific match isn’t available. We’ll walk through all the steps required to create an Elasticsearch index along with a search template. Then, we’ll lay out the entire process of how to create an app that uses Azure OpenAI to take user queries and transform them into Elasticsearch search template queries that can produce amazingly customized results.
Here’s a list of all the resources that we’ll be using to create our example real estate search app:
- Elasticsearch index and search template
- Azure Open AI
- Azure Maps API
- Codespaces Jupyter Notebook
- Semantic Kernel
- C# App with Blazor Frontend
Smart query workflow
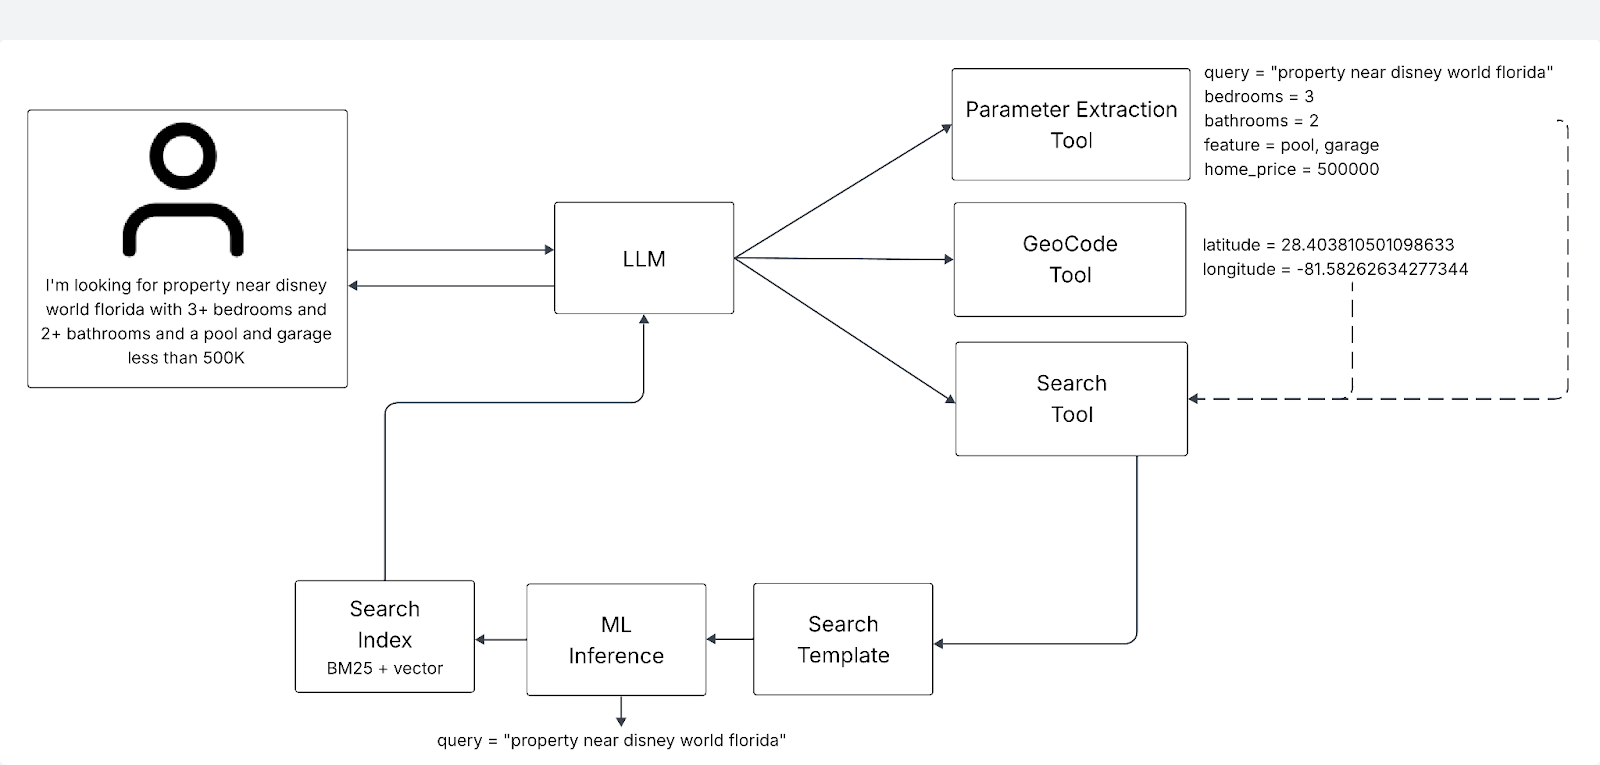
This workflow combines LLM, LLM tools, and search to transform natural language queries into structured, relevant search results:
- LLM (Large Language Model) - Interprets complex user queries and orchestrates tools to extract search intent and enrich context.
- LLM Tools - Each LLM tool is a C# program that we created for this post. There are three tools:
- Parameter Extraction Tool: pulls key attributes like bedrooms, bathrooms, features, and price from the query.
- GeoCode Tool: converts location names into latitude/longitude for spatial filtering.
- Search Tool: populates an Elasticsearch search template with query parameters and executes a search. Hybrid Search - Executes hybrid search (full-text + dense vector) with built-in ML inference. This layered approach ensures smarter, context-aware query experiences for the end-user.
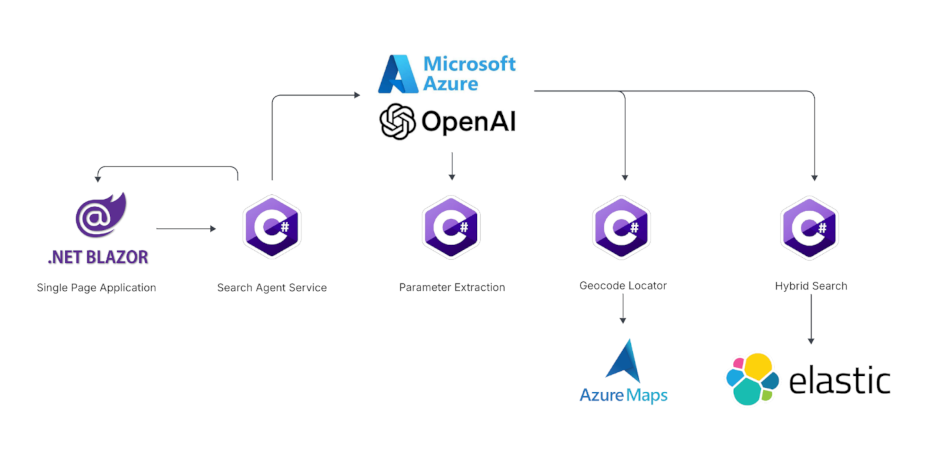
Application architecture
Here’s a system architecture diagram of the example app. We’ll be using a Codespaces Jupyter Notebook to interact with Elastic Cloud.
Prerequisites
You’ll only need your browser, because we’ll be using GitHub Codespaces to clone the example app, configure it and run it. For the Elastic part of the solution, we’ll be using Elastic Cloud to create an Elasticsearch Serverless project. We’ll be using Azure Portal for working with Azure resources.
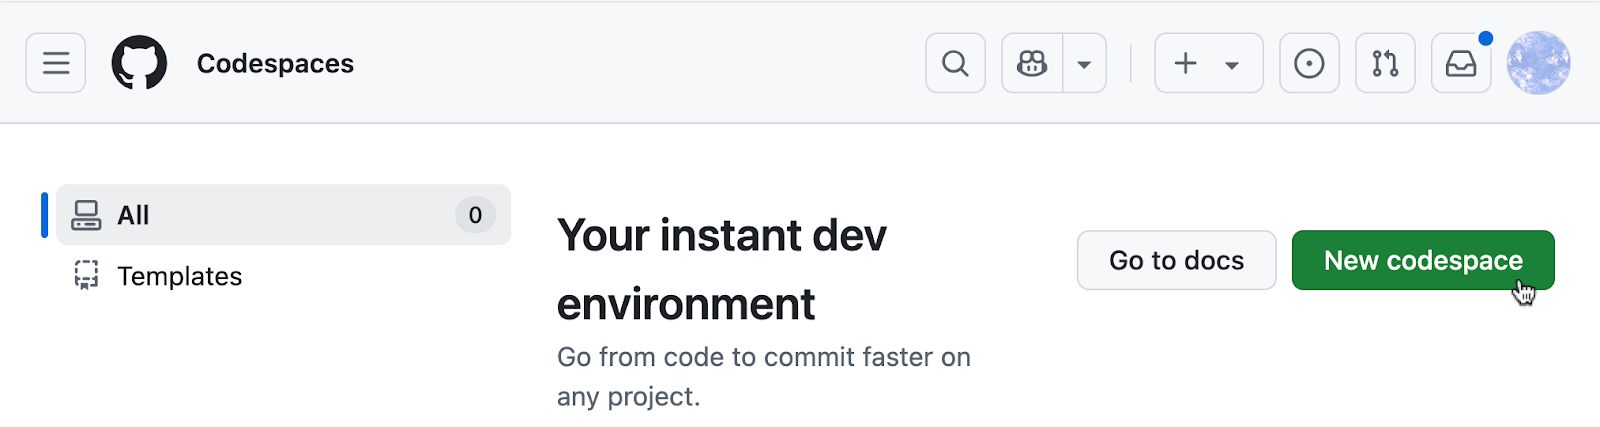
Clone example app repo in Codespaces
Begin by cloning the code for the example application. You can do this in GitHub Codespaces, which provides a way to clone and run applications. Click New Codespace.
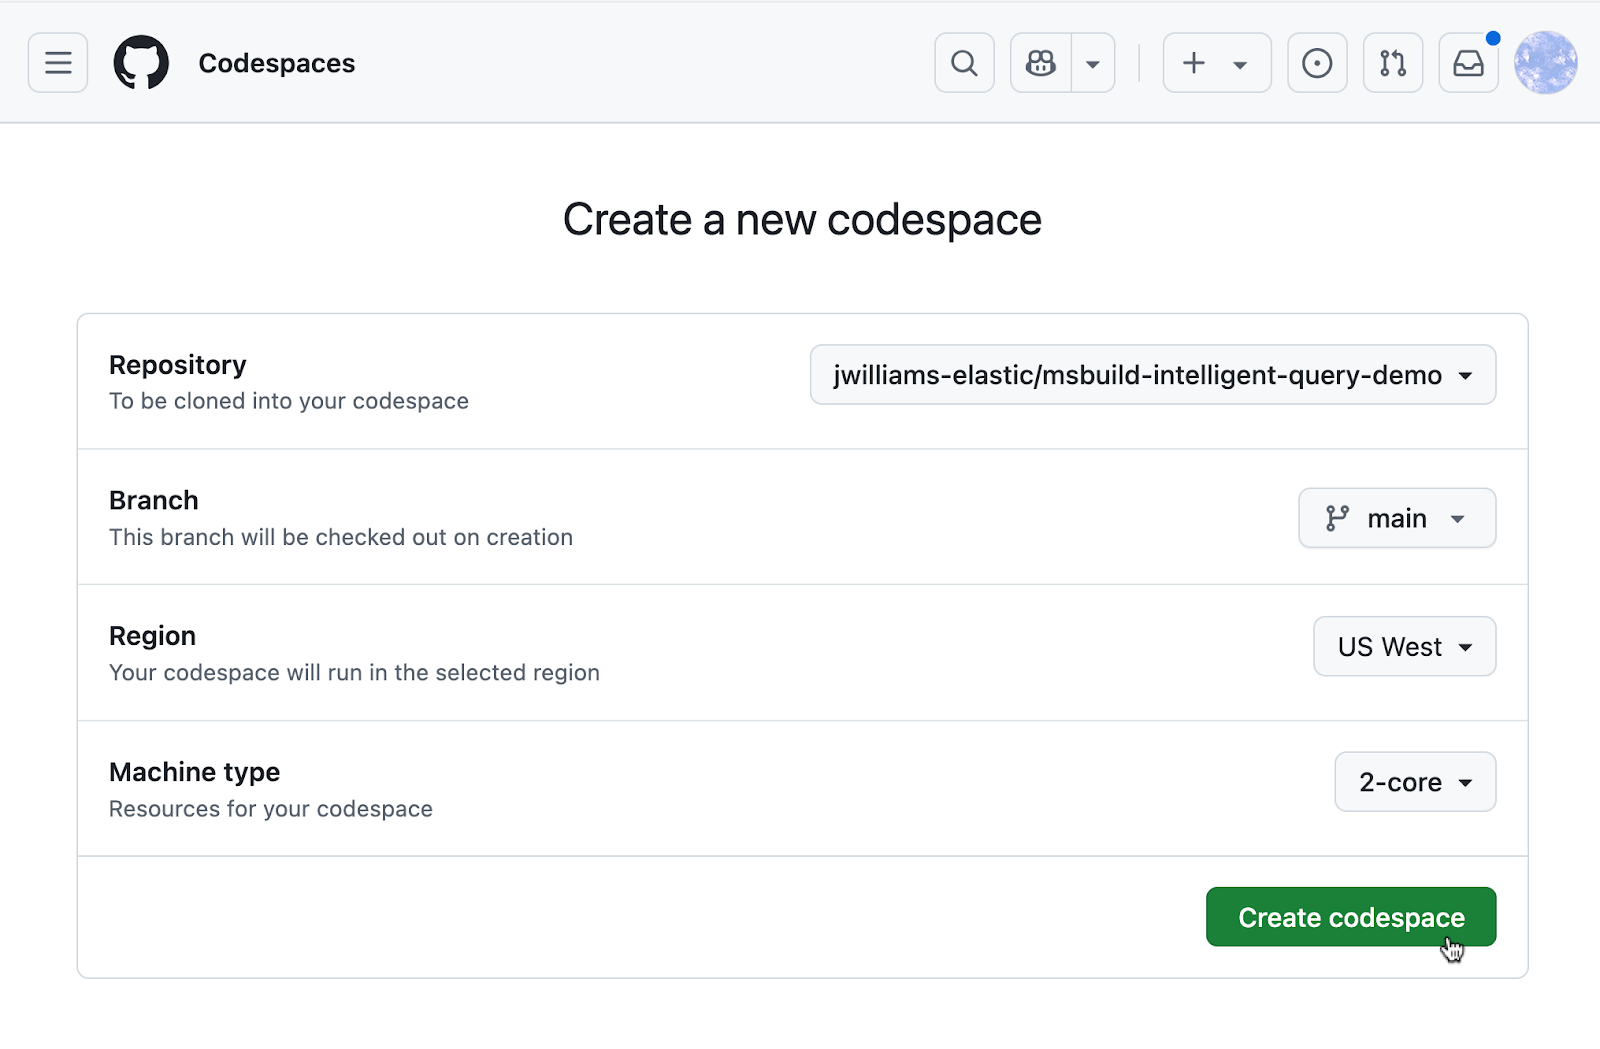
Then, select the repo jwilliams-elastic/msbuild-intelligent-query-demo in the Repository drop-down and click Create Codespace.
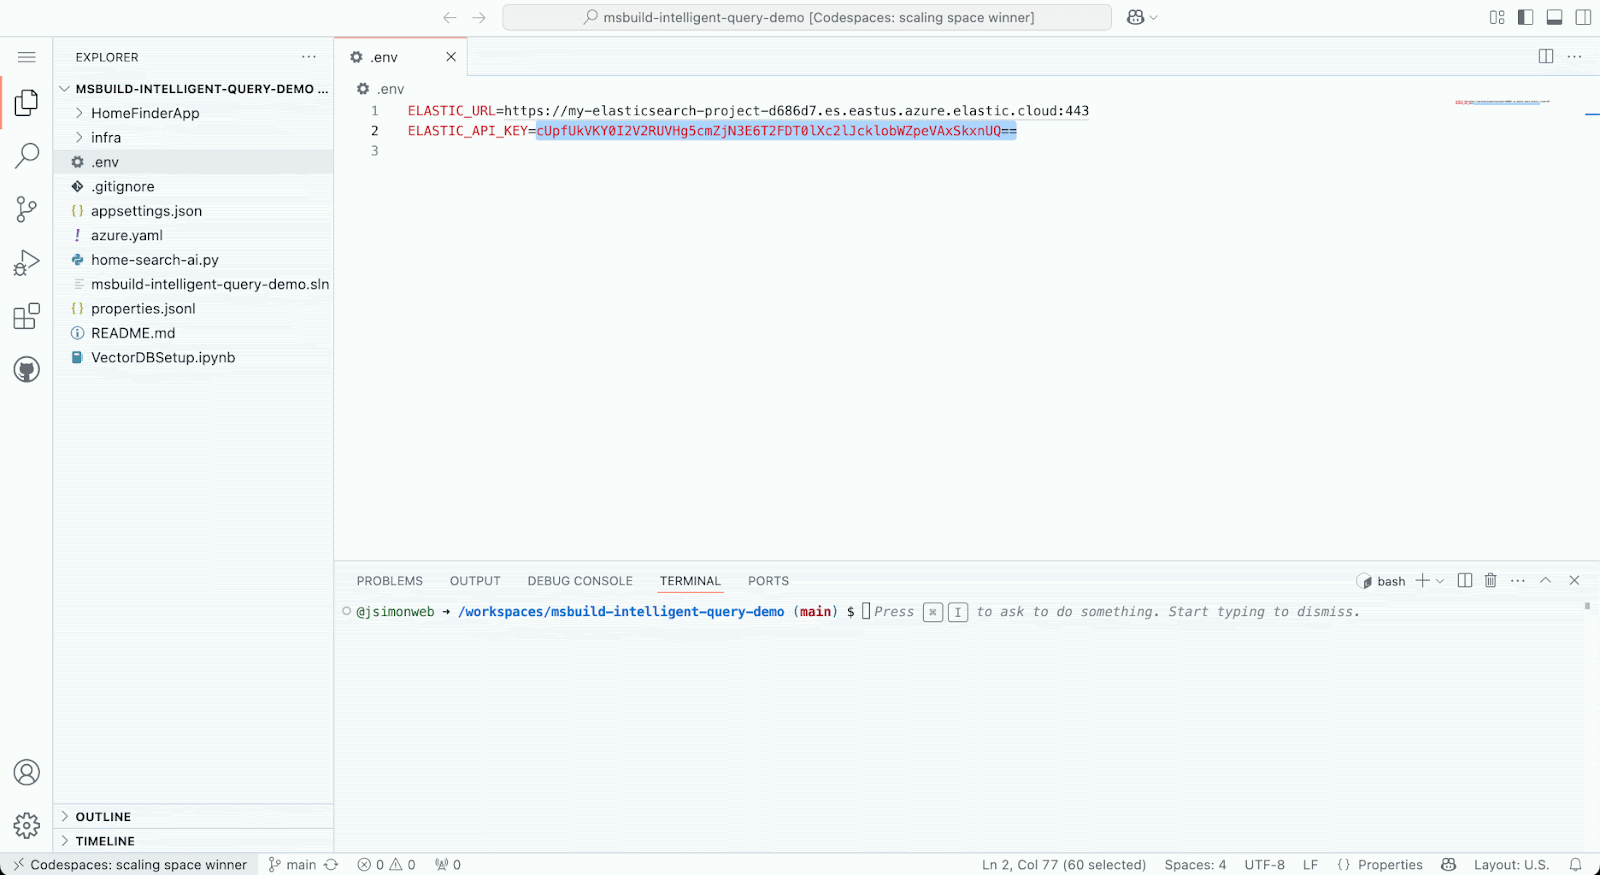
Create .env file
We’ll be using a Python Jupyter Notebook to access and interact with Elastic Cloud and it does so using the configuration values that are stored in a configuration file. The configuration file for the Notebook should have the filename .env and you will create it now.
- In GitHub Codespaces, click the New File button and add a file named .env
- Add the following contents to the newly created .env file
ELASTIC_URL=
ELASTIC_API_KEY=
As you can see we’ve got a couple of missing values, ELASTIC_URL and ELASTIC_API_KEY, that need to be added to the .env file. Let’s get these now by creating an Elasticsearch serverless project to serve as the backend that will power the search functionality for our example app.
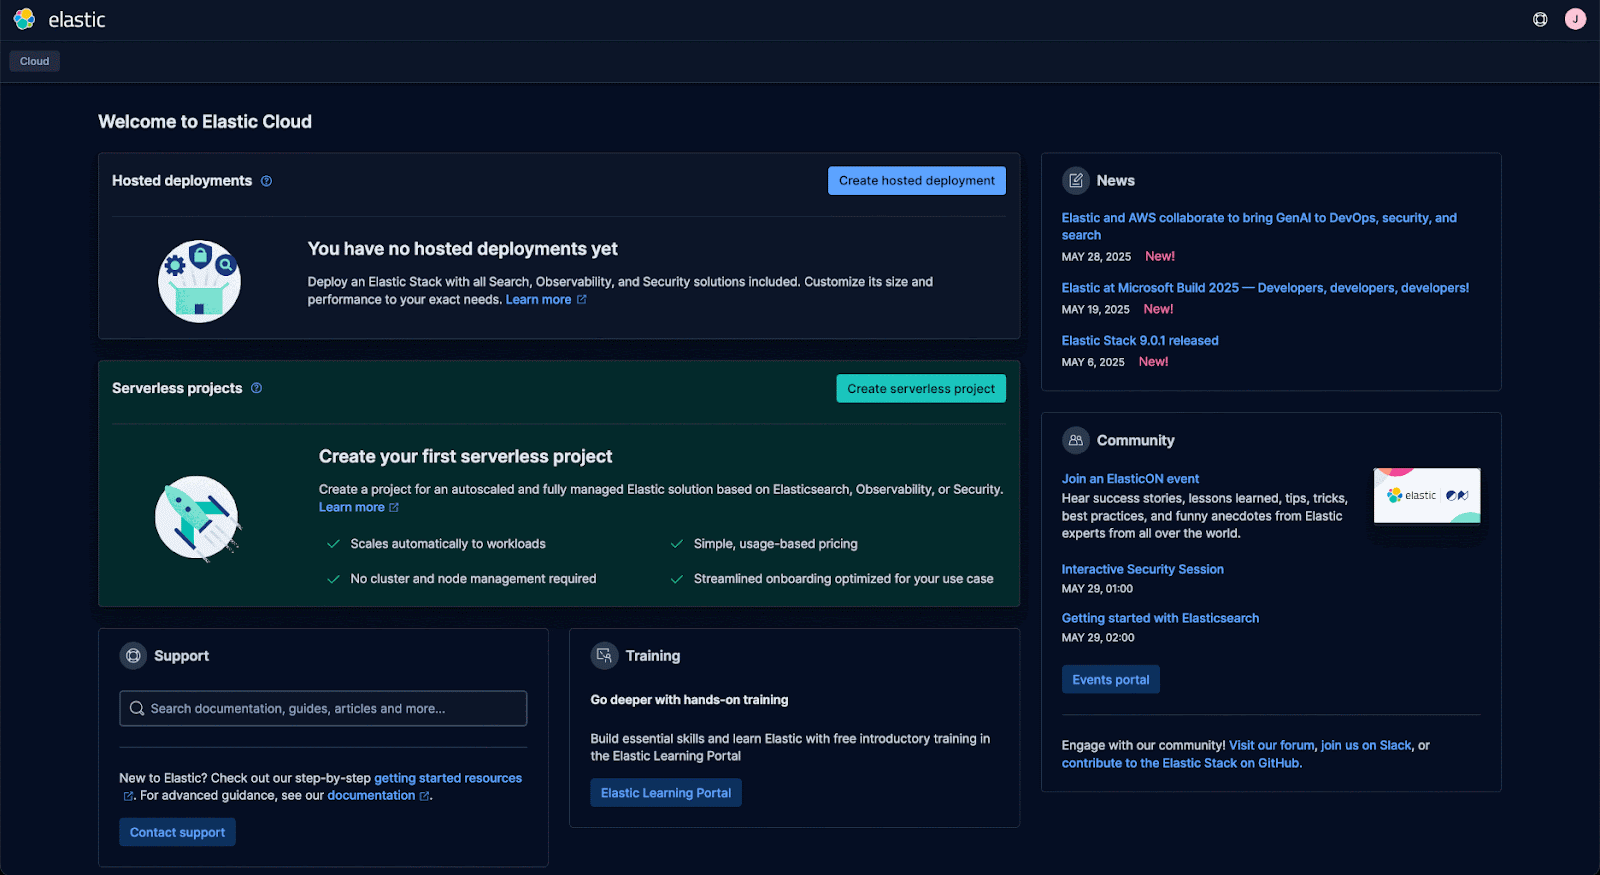
Create an Elastic Serverless project
- Go to cloud.elastic.co and click Create New Serverless project
- Click Next for the Elasticsearch solution
- Select Optimized for Vectors
- Set the Cloud Provider to be Azure
- Click Create Serverless Project
- Click on Getting Started in the main navigation menu and scroll down to copy the Connection Details
- Click the Copy button to copy the Elasticsearch Endpoint from the Connection Details
- Update .env file to set the ELASTIC_URL to be the copied Elasticsearch Endpoint
Create an Elastic API Key
- Open the Elasticsearch Getting Started page, click New in the Add an API Key section
- Enter a Key Name
- Click Create API Key
- Click the Copy button to copy the API key value
- Back in Codespaces, where we have the .env file open for editing, paste the copied value to set the ELASTIC_API_KEY

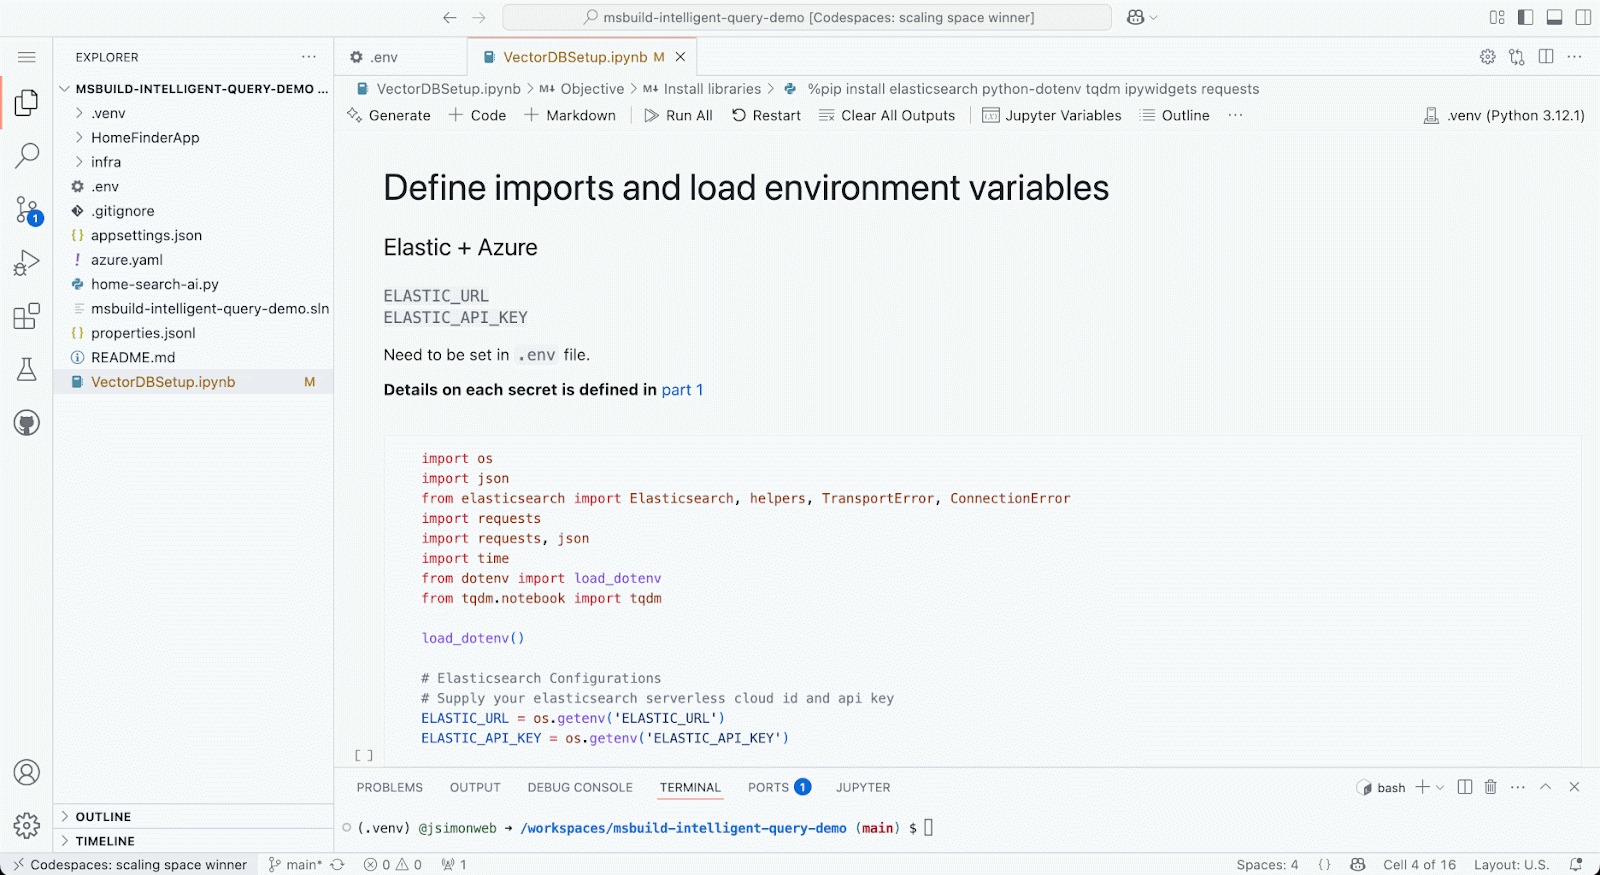
Open the Codespaces Notebook and install library dependencies
In the file explorer, select the VectorDBSetup.ipynb file to open the Notebook. After the Notebook loads, find the Notebook section titled Install libraries. Click the section play button.
If this is your first time running a Notebook in GitHub Codespaces, you’ll be prompted to select a Codespaces Kernel and configure the Python environment.
Define imports and load environment variables using Codespaces Notebook
Go to the next section in the Notebook titled Define imports and load environment variables. Click the section play button.
This code imports the Python libraries used by the Notebook and it loads the environment variables from the .env that you previously created.
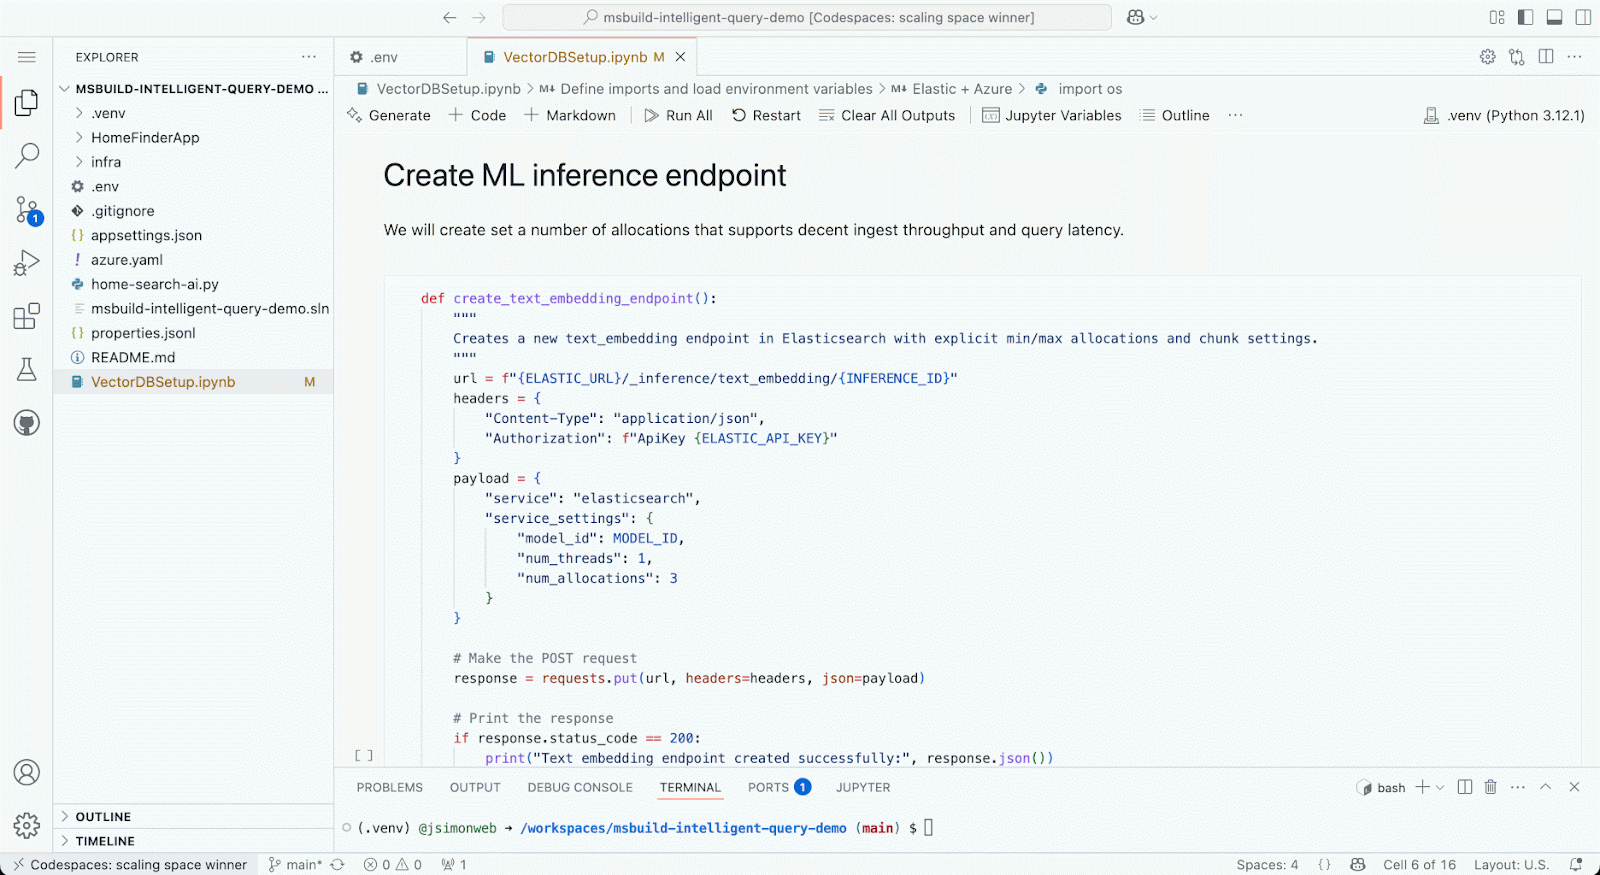
Create Elastic ML inference endpoint using Codespaces Notebook
Go to the next Notebook section titled Create ML inference endpoint. Click the section play button.
This will create a new ML inference endpoint in the Elasticsearch project that we’ll use to generate text embeddings from our data. Text embeddings are vector representations of text that will be stored in Elasticsearch to power semantic search.
Create Elasticsearch index using Codespaces Notebook
Go to the next Notebook section titled Create Elasticsearch index. Click the section play button.
This will create the Elasticsearch index that will store our example data and any associated vector data generated via the ML inference endpoint.

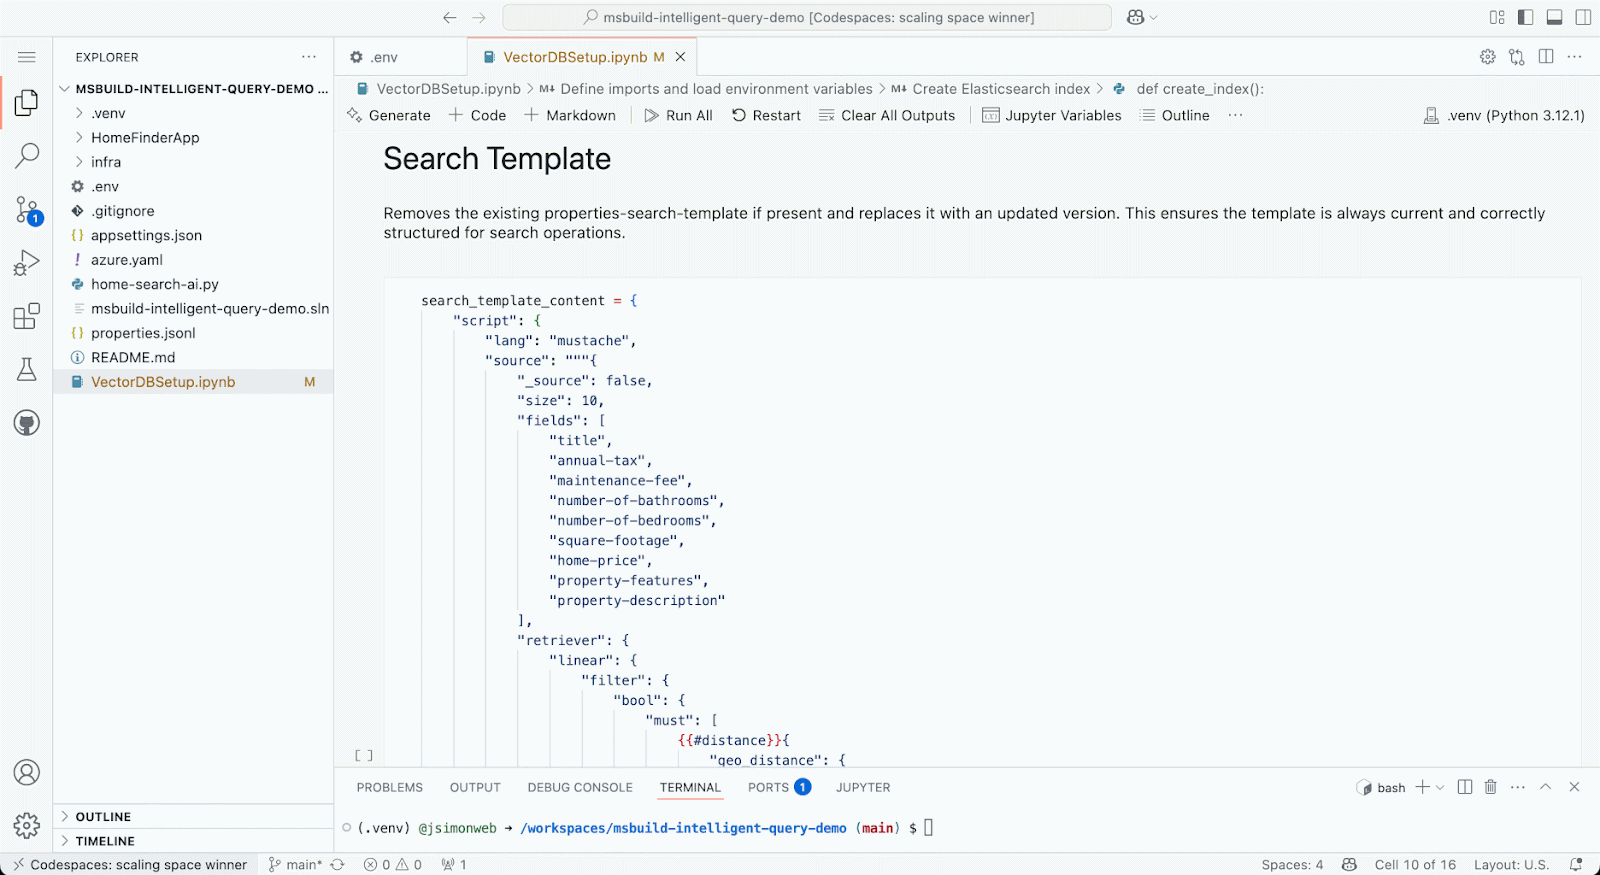
Create an Elasticsearch search template using Codespaces Notebook
Continue to the next Notebook section titled Search Template. Click the section play button.
This creates a search template, which is what our example app will be using as a template populated with the words parsed from a user’s search query. This allows us to configure and control how specific we are when querying data in the Elasticsearch index.
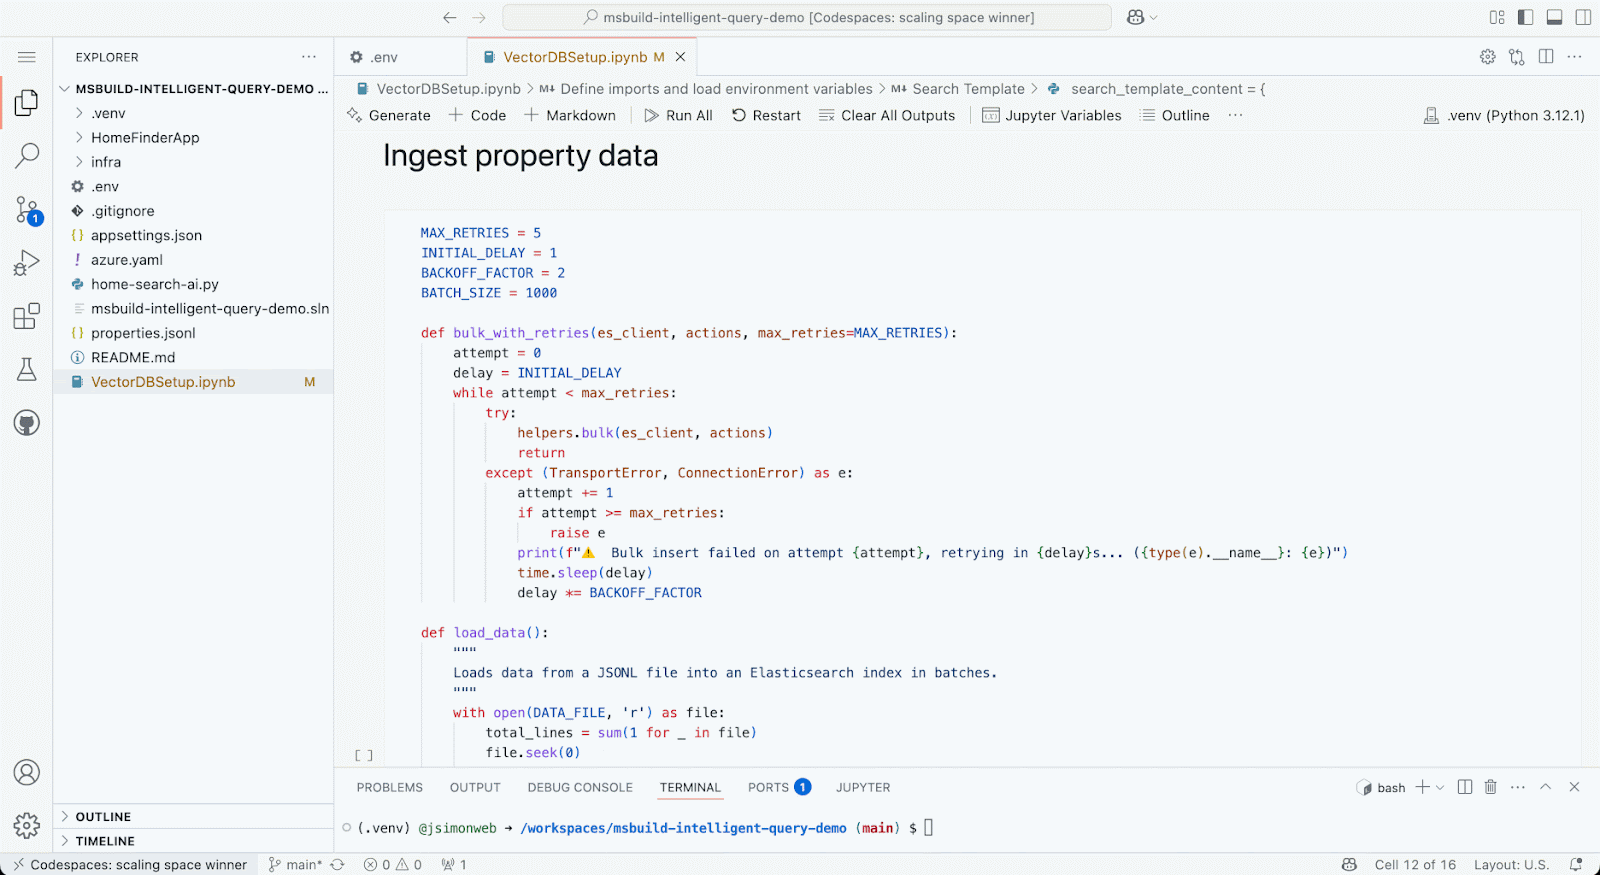
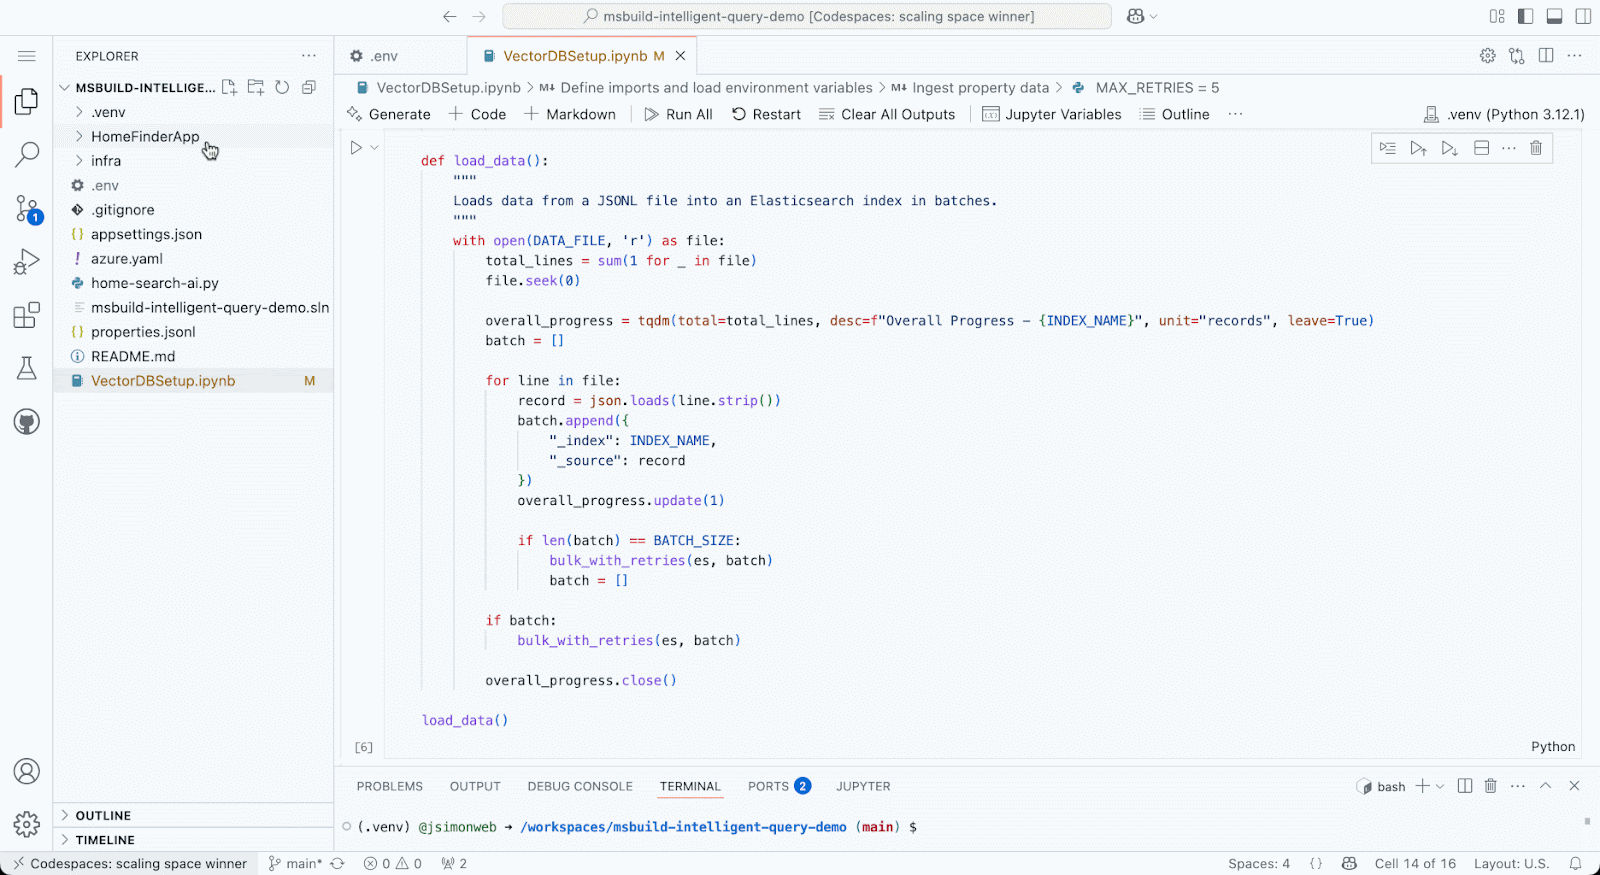
Ingest data into the Elasticsearch index using Codespaces Notebook
Go to the next section of the Notebook titled Ingest property data. Click the section run button.
Running this code section will bulk load the example data contained in the properties.jsonl file. After a couple of minutes, you should see a confirmation that the process successfully completed. You can confirm that the index contains the expected record by going to the Index Management section in Elastic Cloud.
Create appsetting.json to configure C# app
With our Elasticsearch index created and populated with data, we’re now ready to configure the example app to work with Elastic and Azure Cloud. The C# example app uses a file named appsettings.json to store and load its access information like API keys. You will create the appsettings.json file now using the editor in Codespaces.
1. Create appsettings.json in the HomeFinderApp folder
2. Paste the following code into the appsettings.json file
{
"ElasticSettings": {
"Url": "",
"ApiKey": "",
"IndexName": "properties",
"TemplateId": "properties-search-template"
},
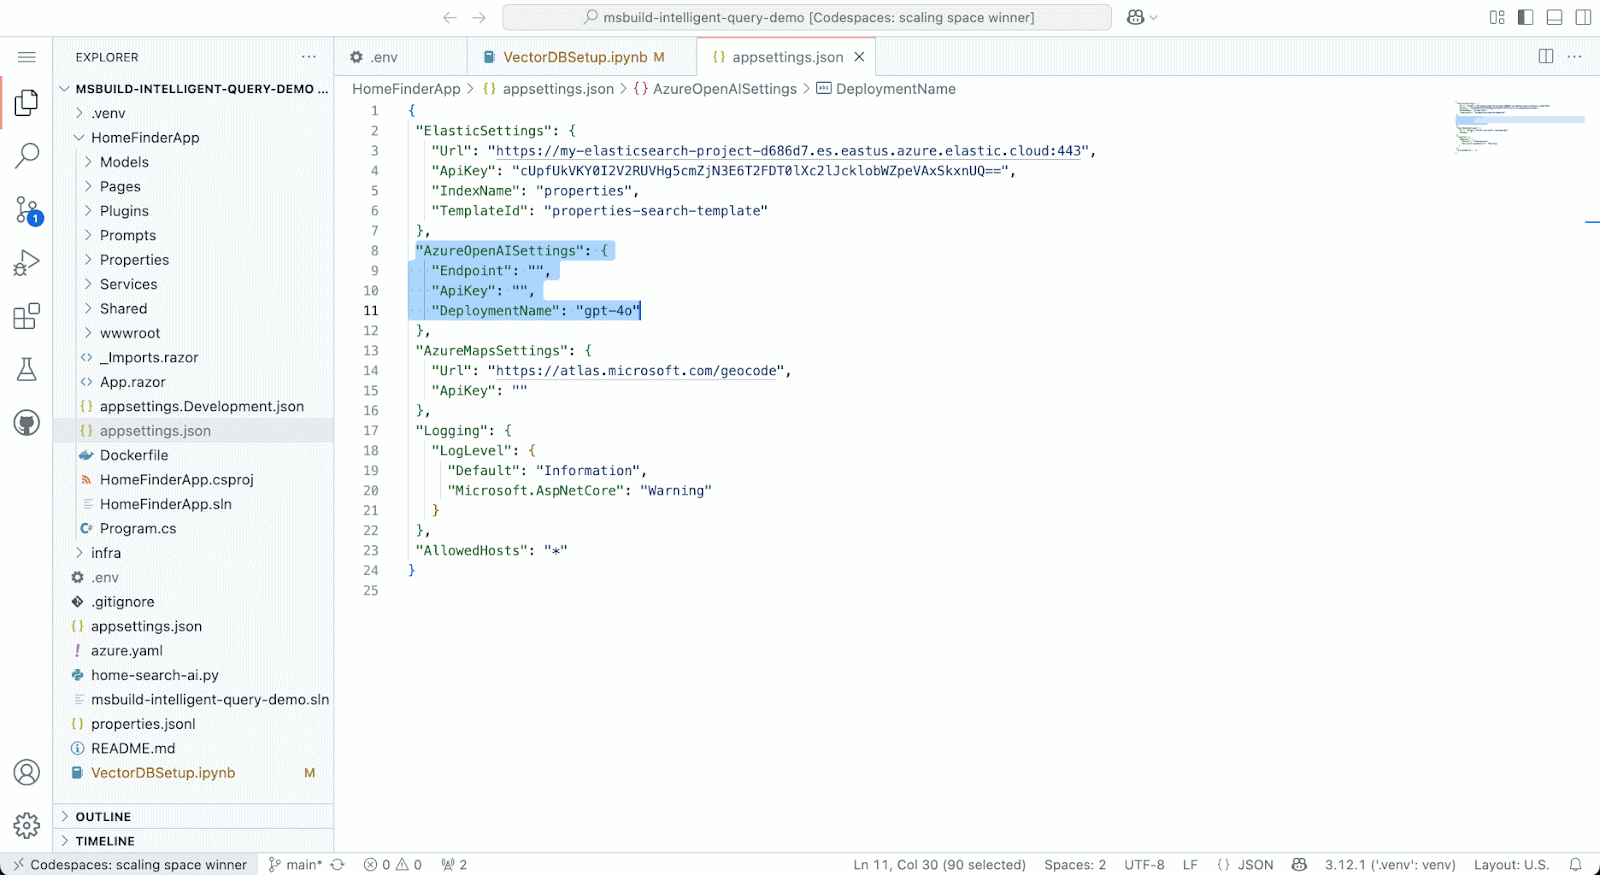
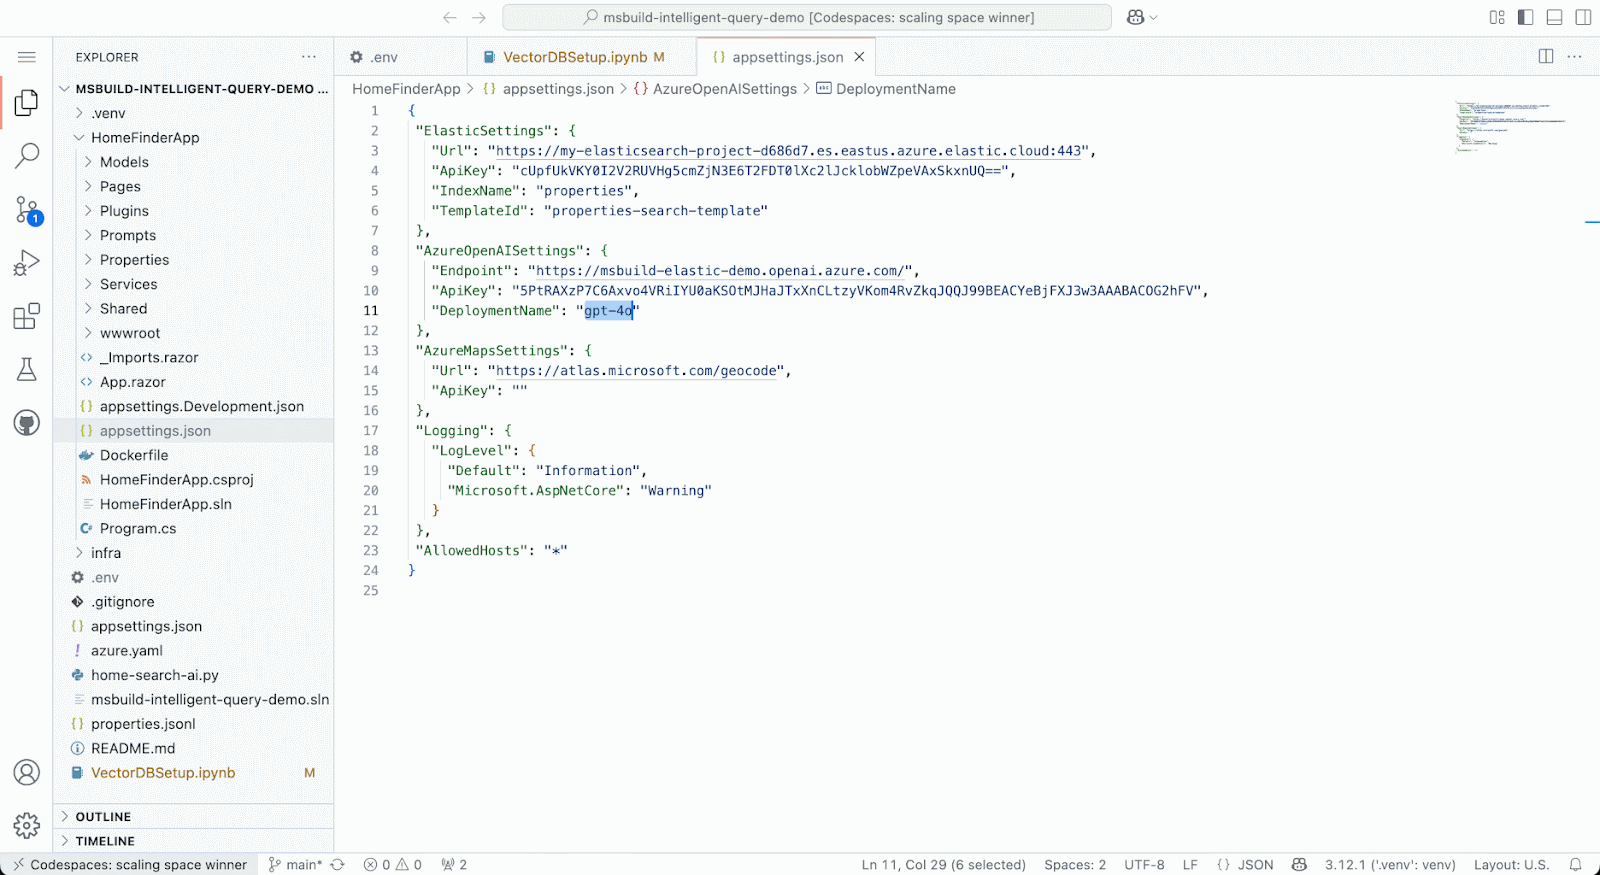
"AzureOpenAISettings": {
"Endpoint": "",
"ApiKey": "",
"DeploymentName": "gpt-4o"
},
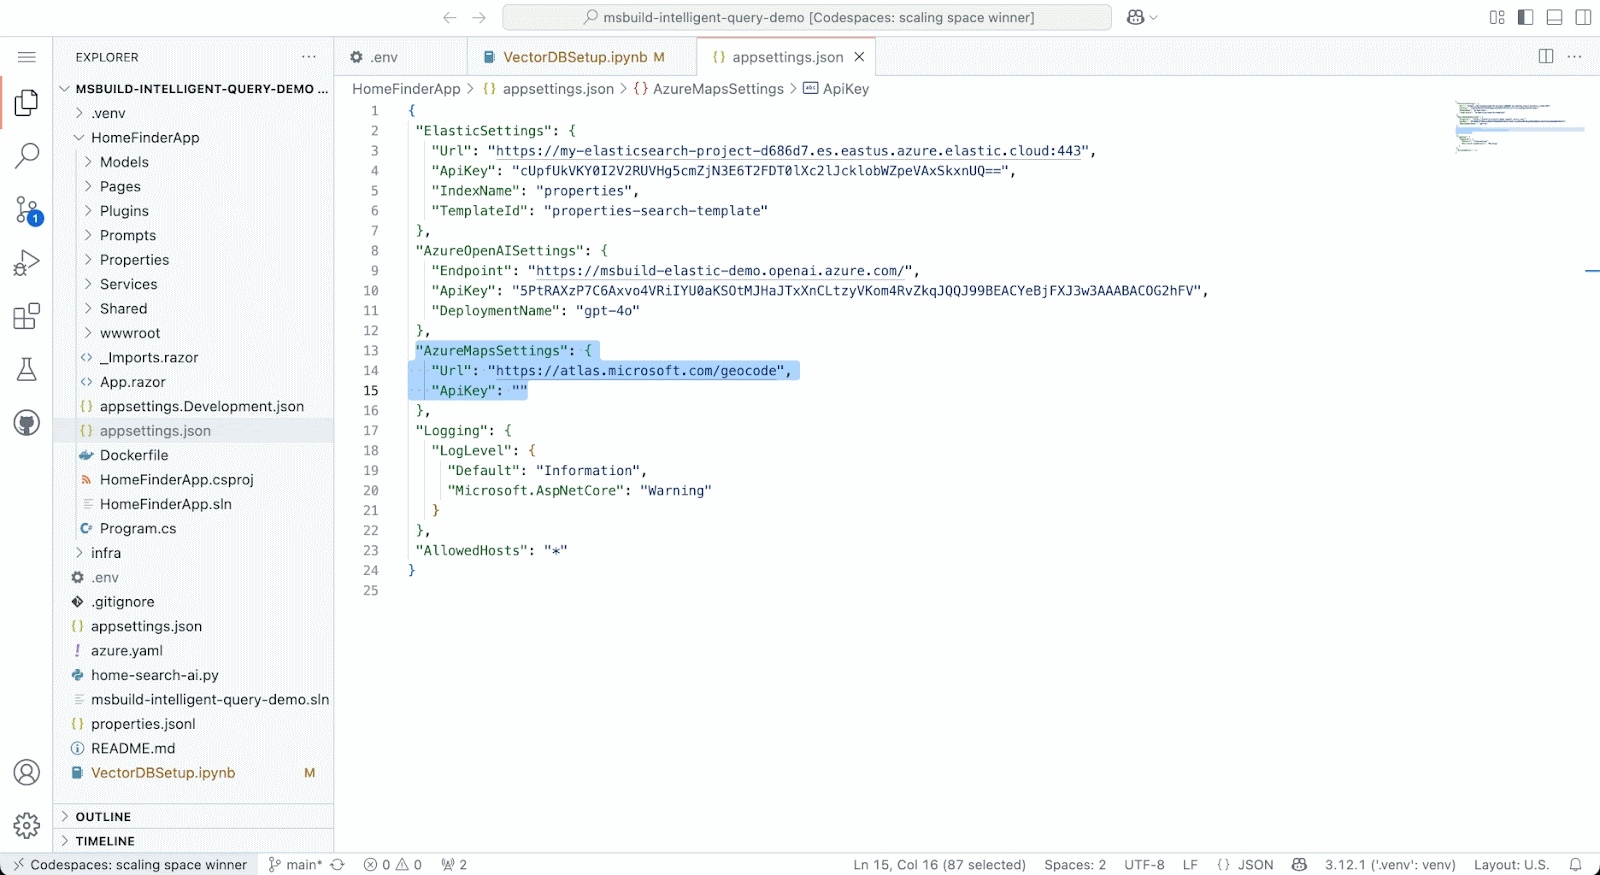
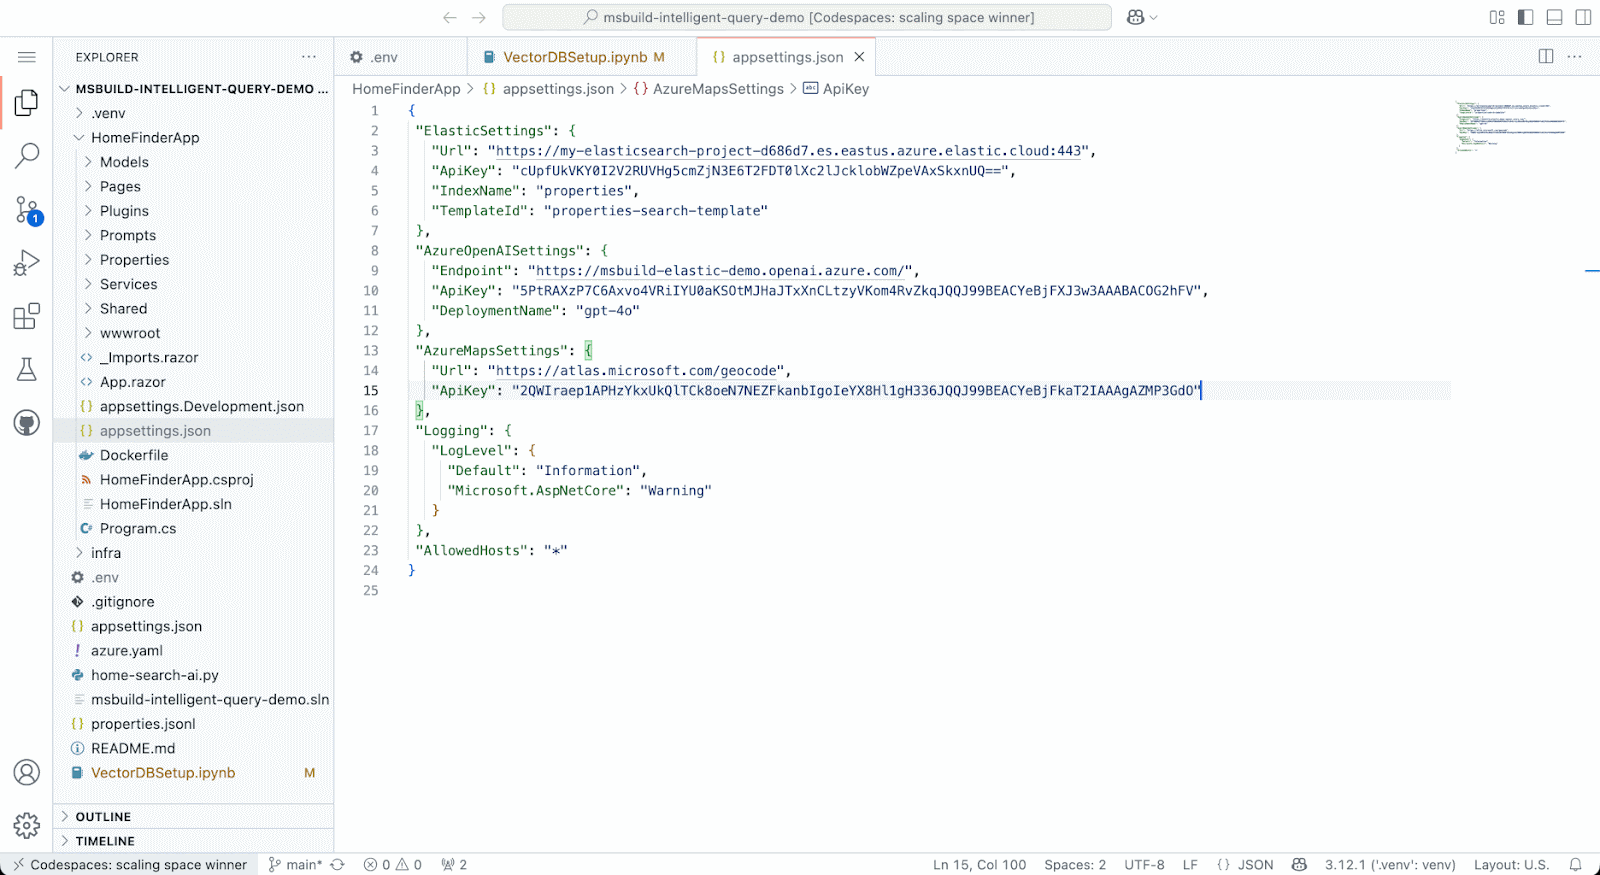
"AzureMapsSettings": {
"Url": "https://atlas.microsoft.com/geocode",
"ApiKey": ""
},
"Logging": {
"LogLevel": {
"Default": "Information",
"Microsoft.AspNetCore": "Warning"
}
},
"AllowedHosts": "*"
}3. Find the Url and ApiKey values under the ElasticSettings section. Set them to be the same values that you set in the .env file in an earlier step.
Create Azure OpenAI service
Our example app is going to use Azure OpenAI to parse the app user’s query and then submit a request to Elasticsearch by populating the Search template to attempt to flexibly communicate what the user is searching for.
- Open a new browser tab and go to the AI Foundry | Azure OpenAI in the Azure portal. Click +Create
- In the create form, choose a Resource Group.
- Enter a Name
- Choose a Pricing Tier
- Click Next
- On the Network tab, click Next
- On the Tags tab, click Next
- On the Review and submit tab, click Create
- Once the creation is complete, click Go to resource
- Select Keys and Endpoint from the left navigation menu
- Copy the Endpoint and paste it into the appsettings.json file you created back in your browser tab that has the open Codespaces editor.
- Then go back to your browser tab containing the Azure OpenAI Key and endpoint page. Click the copy button for Key 1, and paste the copied value into the appsettings.json file, back in your browser tab that has the open Codespaces editor.
Add gpt-4o model deployment to Azure Open AI service
Great, we’ve now got a running Azure OpenAI service, but it still needs a model deployment to give us the LLM capabilities our example app requires. There are a boatload of models to choose from. Let’s deploy gpt-4o since it’s already specified in the appsettings.json file you created.
- Go to the Azure AI Foundry and click Create a deployment
- Search for gpt-4o and select it from the results
- Click Confirm to select it
- Click Deploy to deploy the model
Once you’ve successfully deployed the gpt-4o model, you can select Deployments from the left navigation menu and confirm that the gpt-4o deployment is listed with a State of Succeeded.
Create Azure Maps account
We want users of our example app to be able to search specific areas for real estate property, but without having to be too specific. If someone wants to search for a property near the local farmer’s market, Azure Maps is a service that the OpenAI LLM can use to get Latitude and Longitude coordinates for the market. The coordinates can then be included in the Search template-based requests sent to Elasticsearch for user queries that include specific locations and geo-distance considerations.
- Click Create in Azure Maps Accounts
- Select a Resource group
- Enter a Name
- Agree to the License and Privacy statement
- Click Review and create
- Click Create
- Once the account creation is complete, click Go to resource
- Click Authentication in the left navigation menu
- Copy the Primary Key value and paste it to be the value of the ApiKey in the AzureMapsSettings section of the appsettings.json file, back on your browser tab containing the Codespaces editor
Try out the example app
Now for the fun part. It’s time to run the example app. We’ve got all the configuration details in place along with the Elastic Cloud and Azure Cloud resources we need to power the app.
1. Open a Terminal window in the Codespaces editor.
2. Use the following command to change the active directory to be the example app folder.
cd HomeFinderApp3. Use the following dotnet command to run the app.
dotnet run4. Click the Open in Browser button when it appears.
5. Test the default search and then try out some of your own custom searches. If you want to see more details about what is performed on the backend to generate the search results, you can click the Show link next to Tool Invocations.
Bonus: If you really want to test GPT-4o, try the following search: I'm looking for property near disney world fl with 30+ bedrooms and 20+ bathrooms and a pool and garage and near the beach for less than 200K. This query will return results after multiple search tool invocations.
Elastic is your solution for Search AI
The running app is an example of Gen AI LLM guided search using Elasticsearch via Search templates as the grounding data source. Feel free to experiment and customize the example app to create a search experience that is precise yet flexible, to help your users find what they are looking for.
Thank you for reading. Give Elastic Cloud a try.
Ready to try this out on your own? Start a free trial.
Elasticsearch has integrations for tools from LangChain, Cohere and more. Join our advanced semantic search webinar to build your next GenAI app!
Related content
September 18, 2025
Elasticsearch open inference API adds support for Google’s Gemini models
Learn how to use the Elasticsearch open inference API with Google’s Gemini models for content generation, question answering, and summarization.
June 16, 2025
Elasticsearch open inference API adds support for IBM watsonx.ai rerank models
Exploring how to use IBM watsonx™ reranking when building search experiences in the Elasticsearch vector database.
June 5, 2025
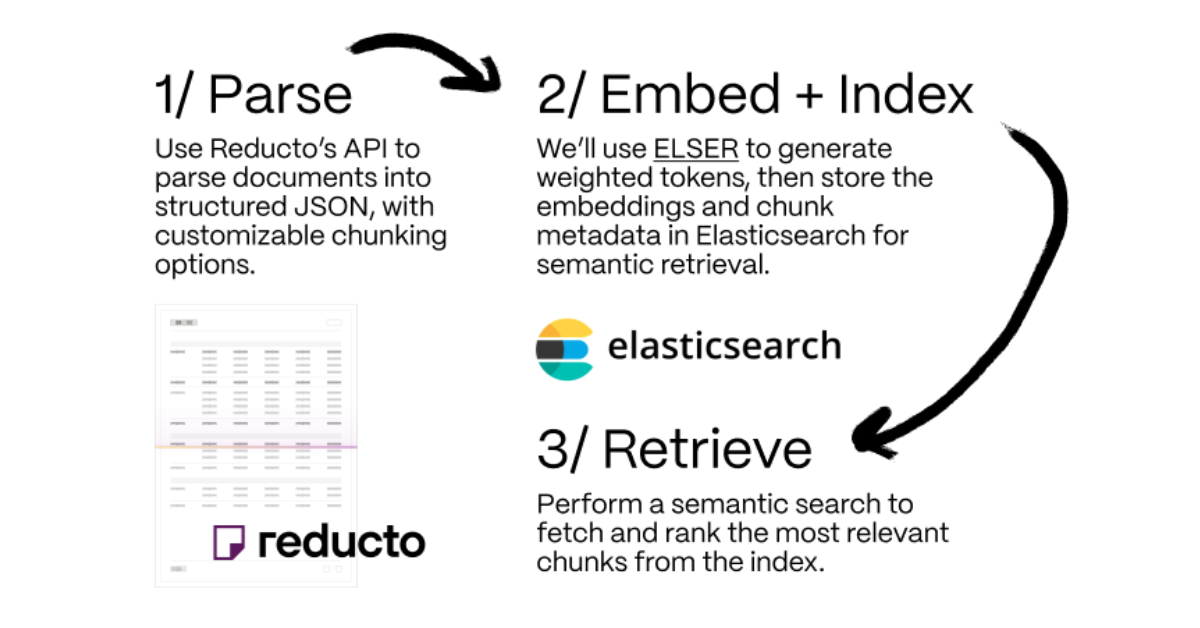
Making sense of unstructured documents: Using Reducto parsing with Elasticsearch
Demonstrating how Reducto's document processing can be integrated with Elasticsearch for semantic search.

May 21, 2025
First to hybrid search: with Elasticsearch and Semantic Kernel
Hybrid search capabilities are now available in the .NET Elasticsearch Semantic Kernel connector. Learn how to get started in this blog post.
May 20, 2025
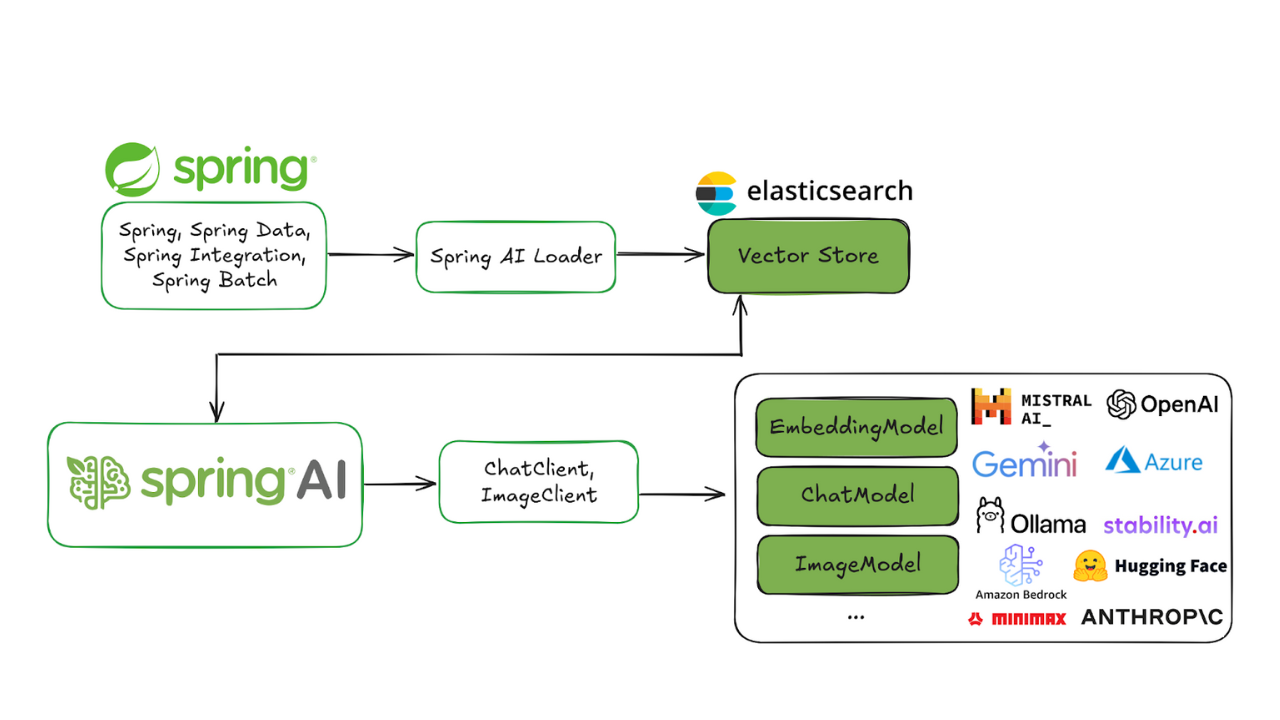
Spring AI and Elasticsearch as your vector database
Building a complete AI application using Spring AI and Elasticsearch.