When managing an Elasticsearch cluster, there may be situations where you need to remove a node from the cluster. This could be due to hardware issues, maintenance, or scaling down the cluster. In this article, we will discuss the steps to safely remove a node from an Elasticsearch cluster without causing any data loss or impacting the cluster’s performance. If you want to learn about the concept of Elasticsearch nodes and the types of roles, check out this guide.
Steps to safely remove a node from an Elasticsearch cluster
1. Stop indexing and perform a synced flush (optional)
First, if you can afford to stop indexing for a short period, it is recommended to perform a synced flush. This operation helps speed up the recovery process when the cluster restarts after a node is removed. To perform a synced flush, execute the following command:
POST _flush/syncedNote that this step is optional and can be skipped if stopping indexing is not feasible.
2. Retrieve the node name
After performing a sync flush, you will need to know the node name in order to remove it from the cluster. You can retrieve the node name by executing the following command:
GET _cat/nodes?vThis command will return a list of nodes in the cluster along with their node names. Identify the node you want to remove and note down its node name.
3. Remove the node from the cluster
After you’ve determined the node name, you can remove the node from the cluster. To remove the node from the cluster, update the cluster settings to exclude the node using its node name. Execute the following command, replacing `<node_name>` with the node name you retrieved in the previous step:
PUT _cluster/settings
{
  "persistent": {
    "cluster.routing.allocation.exclude._name": "<node_name>"
  }
}
This command will instruct Elasticsearch to move all shards from the specified node to other nodes in the cluster. You can monitor the progress of shard relocation by executing the following command:
GET _cat/recovery?v&active_only=trueWait for the shard relocation process to complete before proceeding to the next step.
4. Stop the Elasticsearch process on the node
After all shards have relocated to the other nodes, you can safely stop the Elasticsearch process on the node you want to remove. Depending on your installation method and operating system, the command to stop Elasticsearch may vary. For example, if you are using systemd on a Linux system, you can execute the following command:
sudo systemctl stop elasticsearch5. Verify the cluster health
Finally, verify the health of the cluster by executing the following command:
GET _cluster/health
Ensure that the cluster status is “green” (meaning that all shards are properly allocated) and the number of nodes in the cluster has been reduced by one.
Elastic Cloud Serverless
Another option to avoid worrying about nodes is using Elastic Cloud Serverless. In this fully managed solution, Elastic takes care of the underlying architecture of your cluster, meaning you don’t need to worry about nodes, shards, or scaling, everything happens automagically.
Conclusion
In conclusion, removing a node from an Elasticsearch cluster involves disabling shard allocation to that node, optionally performing a synced flush, excluding the node from the cluster, and stopping the Elasticsearch process on the node. By following these steps, you can safely remove a node without impacting the cluster’s performance or causing data loss. If you are looking for a managed solution, you could use Elastic Cloud Serverless.
Ready to try this out on your own? Start a free trial.
Want to get Elastic certified? Find out when the next Elasticsearch Engineer training is running!
Related content

October 31, 2025
How to install and configure Elasticsearch on AWS EC2
Learn how to deploy Elasticsearch and Kibana on an Amazon EC2 instance in this step-by-step guide.
October 29, 2025
How to deploy Elasticsearch on an Azure Virtual Machine
Learn how to deploy Elasticsearch on Azure VM with Kibana for full control over your Elasticsearch setup configuration.
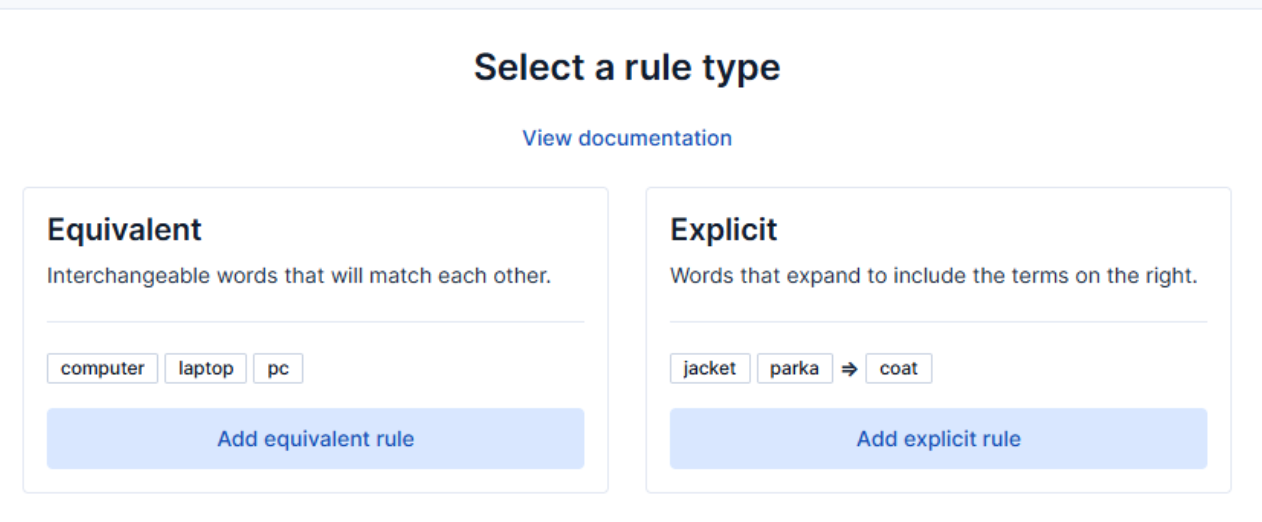
How to use the Synonyms UI to upload and manage Elasticsearch synonyms
Learn how to use the Synonyms UI in Kibana to create synonym sets and assign them to indices.

October 8, 2025
How to reduce the number of shards in an Elasticsearch Cluster
Learn how Elasticsearch shards affect cluster performance in this comprehensive guide, including how to get the shard count, change it from default, and reduce it if needed.
October 3, 2025
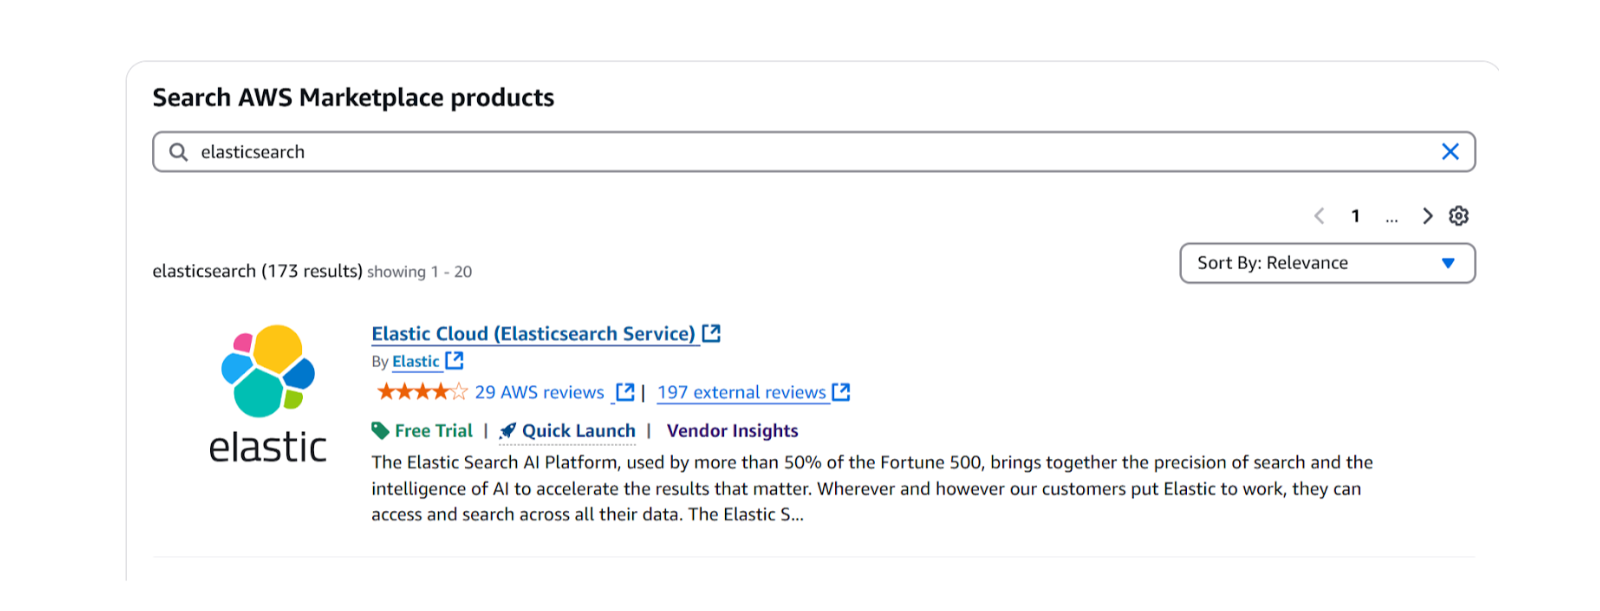
How to deploy Elasticsearch on AWS Marketplace
Learn how to set up and run Elasticsearch using Elastic Cloud Service on AWS Marketplace in this step-by-step guide.